
One of the most frequent questions I get asked is “How do I get that film look?” Today I will show you how I turn ordinary-looking video into a cinematic image that just simply looks good.
To get video to look like a big budget film you obviously have to start with good cinematography. That entails a lot of things, such as great production design, good camera angle, lens choice, lighting etc. But a big part of how the final video will look happens in post production. Color grading a well shot video can make it look exceptional, just as a poor job adjusting the colors can ruin it.
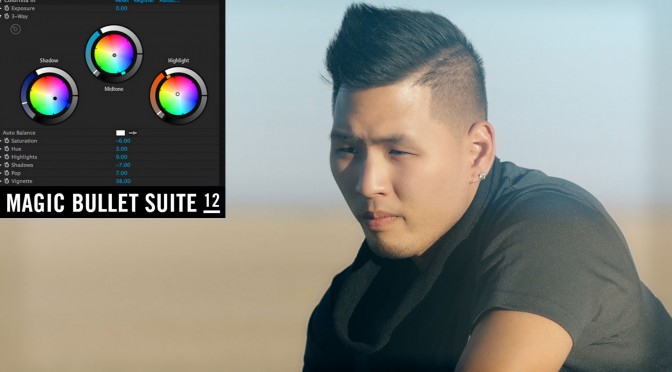
In the past, we needed expensive hardware and software to be able to achieve the same level of color grading as seen in big budget films. Thanks to faster computers and more software options, it is now very easy and affordable to get professional color grading tools. My favorite for years has been the Colorista from Red Giant. I used the first version, then the second generation, and now Colorista 3, which is part of the Magic Bullet Suite 12.
Here are three tutorials that are almost an hour-long where I show you how to use all of these wonderful tools. So sit back and watch, and hopefully learn how to make your videos more cinematic!
Part 1
Part 2
Part 3
You can get the whole suite at www.redgiant.com
In the tutorials, I also mention the free color-wheel from Adobe. You can find that here.
The Magic Bullet Suite 12 comes with these seven plugins:
Magic Bullet Looks 3.0
• Updated User Interface and Experience
• 198 new, fully-customizable presets
• Film Negative/Film Print Tools
• Mojo Tool
• Colorista Tool
• 4-Way Color Tool
• Lens Vignette Tool
• ColorSpace Tool
• Shadows/Highlights Tool
• Duotone Tool
Magic Bullet Colorista III
• Streamlined User Interface
• Strong integration with Adobe Creative Cloud
• More Host-Apps – PPro, AE, FCPX, Motion
• GPU-Acceleration
• Shadows & Highlights controls
• Vignette
• Strength Slider
Magic Bullet Film
This is an entirely new product that gives your digital footage the look of real film by emulating the entire photochemical process – from the original film negative, to color grading, and finally to the print stock. Magic Bullet Film includes 22 negative stocks and 4 print stocks, giving you 88 possible cinematic combinations.
Magic Bullet Mojo 2.0
Mojo has been rebuilt from scratch and now runs on the GPU. Mojo was already fast, but Mojo 2.0 is the fastest way to get Hollywood’s most popular film look.
Magic Bullet Cosmo 2.0
Cosmo has been rebuilt from scratch and now runs on the GPU. This update also includes new host application support – Adobe Premiere Pro and After Effects are now joined by FCPX, Motion, and Sony Vegas Pro.
Denoiser II (easy video noise reduction)
• Provides immediate one-step results.
• Removes noise while preserving detail.
• Cleans up footage shot in low light or at high ISOs.
LUT Buddy (import, create and export Lookup Tables)
• Export a 1D or 3D LUT to easily communicate color with compliant software.
• Create LUTs for use in BulletProof, or read LUTs generated there.
• Works in Multiple Host applications including Premiere Pro and After Effects.
Hi Tom, really enjoy your tutorials on youtube. I have a question. I love video work and the creative process but Im more of a sound guy… I have a couple of projects I want to do & have been learning as much as I can.
I have a question in regards to the colour grading or matching.
We recently did a shoot with 5 cameras 2 panasonic video cams, 2 go pros and 1 canon dslr. There was limited time to set up so the results are different from each cam. The Canon is far different from the others which I can live with. – My question is _ Is there a way to take a profile or snapshot of the video from the camera we like the results of and apply that correction to the one we dont like? – A tutorial on matching the looks would be great . regards Mark
Great idea for a tutorial Mark… I will try to do this once I have a bit of free time. Thanks!