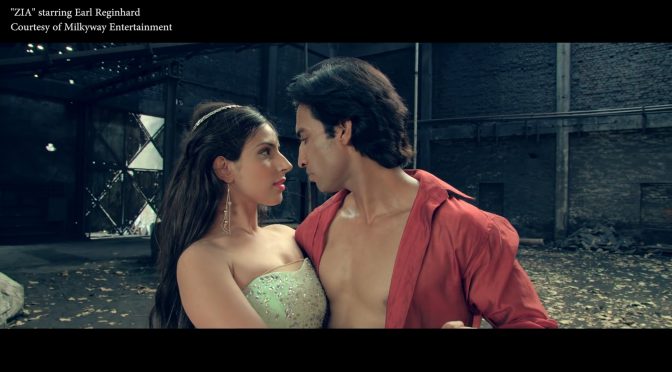
I have been busy updating my custom URSA Mini LUT that I first posted online in 2016 after using it on a Bollywood feature film I shot that same year. This new version is improved in many ways.
If you’re a Blackmagic Design camera shooter and you are also using the Blackmagic LUTs for converting the LOG footage into proper video then you probably ran into the same problem as I have. The LUTs that Blackmagic provides are too contrast and they lose all the details in the highlights and shadows. This is specially annoying when using a LUT in one of the Blackmagic cameras for proper viewing so you can pull focus and judge the exposure. I found it simply doesn’t show if I am in fact blowing out the highlights or crashing the blacks too much. That is why I created my custom LUT that I used both in the camera but also as a starting point in post production grading.
It has been 3 years and since then I have created several more versions of my LUT. This new version fixes a few issues I found specially with really saturated cyan colors that used to brake down with my first generation LUT. Along with some fixes in the shadows to keep the noise levels down.
New problem I found now is whenever I work with my URSA Mini Pro but I also throw in the mix as B cameras the older URSA Mini 4.6K and the brand new Blackmagic Pocket Cinema Camera 4K. They’re all great cameras but unfortunately they all produce a slightly different image. This results in a nightmare in post production when I try to cut from one camera to another. Ive been working on a solution to this over the last few months, constantly tweaking the look. I think I have finally found a look for each of these camera that will match all of them so you won’t have a problem matching them in post. Of course all of this is depends if you shot the same scene on the different cameras with the same settings, specially when it comes to white balance and exposure. Keep in mind that using different manufacturers lenses on each camera will also introduce a slight color shift that you will have to accommodate for in post. If that is the case then you can still apply my LUTs to each of the cameras and then tweak it accordingly.
You can download my custom Blackmagic Antos Film LUTs by going to the link HERE. Please let me know if you find any weird glitches with these LUTs that I might have missed. This way I can continue to tweak and adjust these LUTs for you guys. Thanks!


Your pocket 4k lit is amazing what you see on set is what you see in post, awesome job Tom
Thank you from Dark Echo Productions
Thank you for this LUT, its working great a base technical LUT in Premiere, and looks good in the program. However when I export a h264 render the color is totally different. Any tips on why this is, how to fix?
Can you tell me what program you are using and what color space?
Premiere Pro 13.1.2, interesting question, Premiere doesn’t show the color space data anywhere or give you options to change it, but I think it’s Rec.709. Perhaps the maximum bit depth, maximum render quality, or composite in linear color options may help, I’ll test it and get back to you.
They didn’t help, interestingly, I tried an older BMDFilm to Rec.709 LUT from Ground Control instead, and the export is better, but still different from what is displayed in Premiere. It maybe the case that a LUT made in Premiere is the best option, but I can’t find any yet. I do have a vague memory of LUTs needing something specific in their build for best use in Premiere, but I can’t remember or google it at the moment. Thanks again!
Thank you Tom Antos
Thank you from Cammagicmedia, Nigeria