

In this post I will show you how I setup a glamor shot for a video I did. This can also be used to take some great photos even though we are not using flash photography.
Like always start with a clear idea of what you are trying to achieve so that you have something to aim towards. I want this shot to have high key lighting with a lot of shine and golden colors. I want this to look glamorous and perfectly clean.

Our location is not the best for this setup simply because it has a crazy mix of everything, which we need to achieve some of the different setups we did on that day. So we started the work even before we showed up on this day by getting all the right props and also the perfect outfit for this shot. I gotta give all the credit for that to my production designer Izabella.
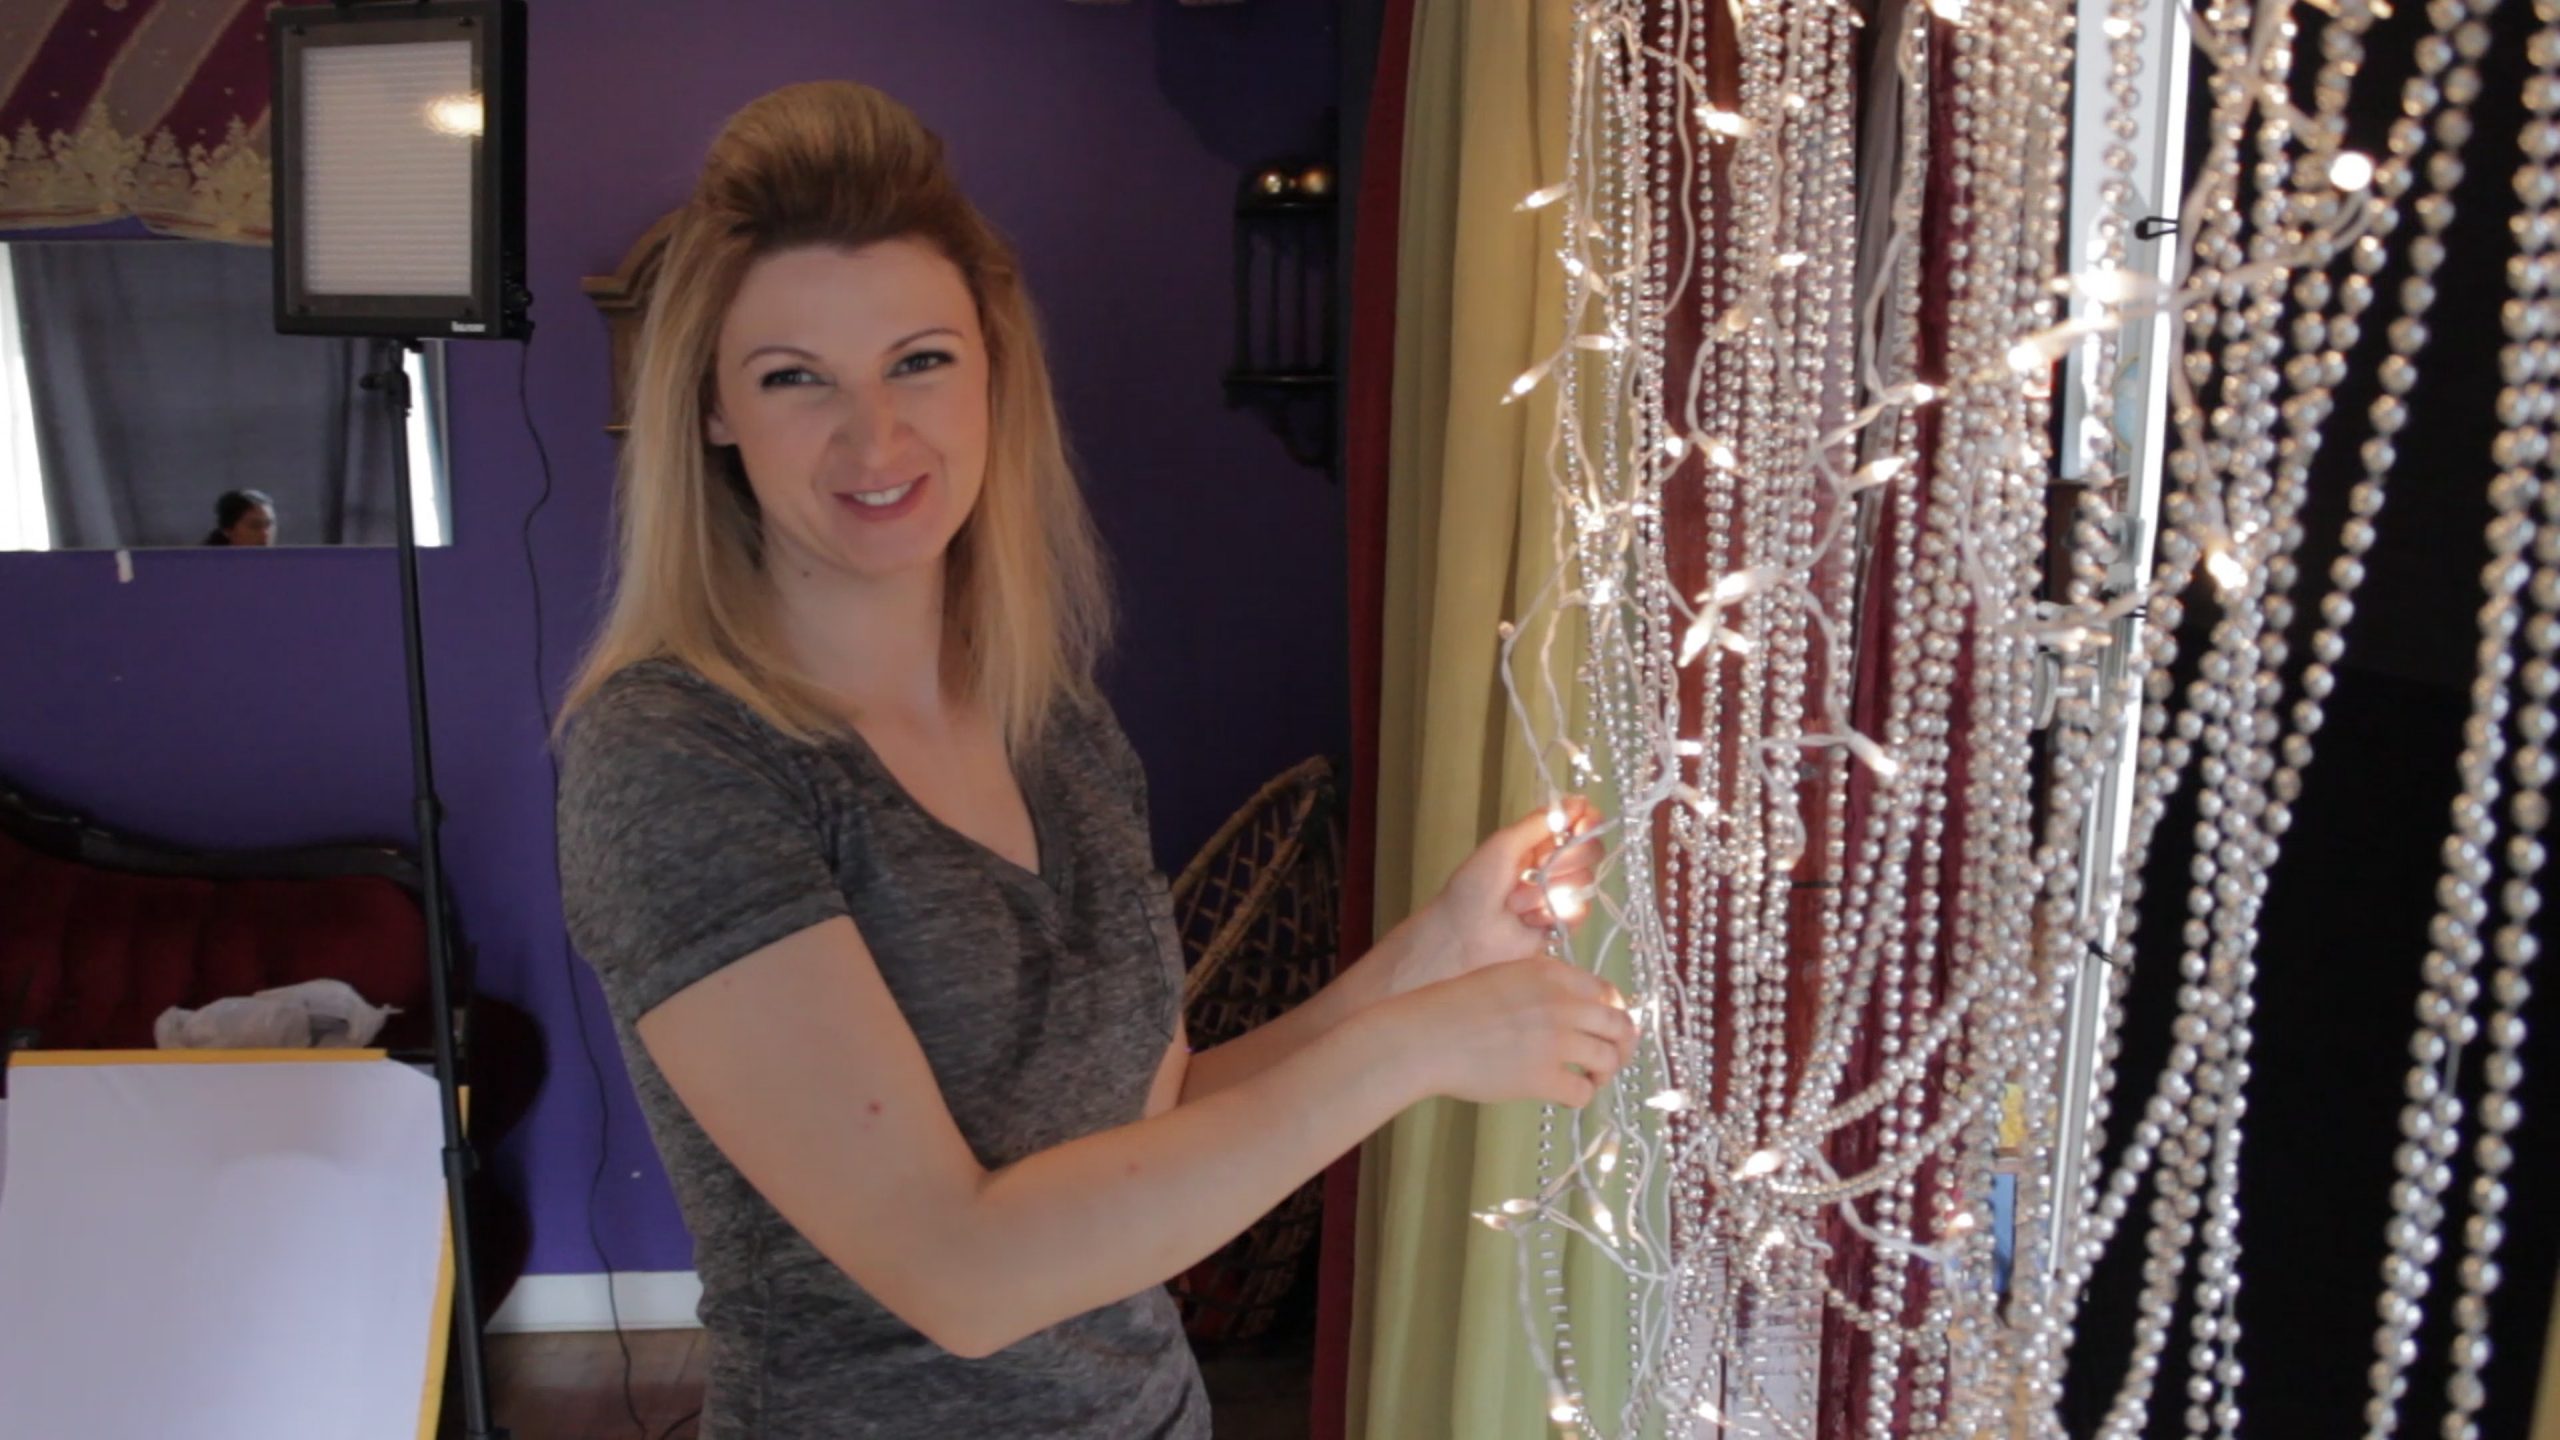
She really found everything that would make this shot work even though we didn’t have anything left in the budget for the production design.
Panasonic GH4
B&H https://bhpho.to/3Kuhznr
Adorama https://adorama.rfvk.net/2rgDeA
Amazon https://amzn.to/3rGVOIv
Amazon Canada https://amzn.to/3tRossU
Amazon UK https://amzn.to/3ArCBy9
Amazon Germany https://amzn.to/340gvXo
eBay https://ebay.us/4Tr8kH
The camera I use for this setup is the Panasonic GH4. While just framing my shot I first used the Lumix Vario f2.8 12-35mm lens but it was right away obvious that this lens is too wide. Next I switched to the Lumix Vario 35-100mm lens that is also f2.8 to get in even closer.
Lumix G Vario Lenses
B&H https://bhpho.to/33CMUnp
Adorama https://adorama.rfvk.net/EaxBdQ
Amazon https://amzn.to/3fRfu6I
Amazon Canada https://amzn.to/3oc0m8T
Amazon UK https://amzn.to/3rJ7yu0
Amazon Germany https://amzn.to/3rHNmIT
eBay https://ebay.us/Fqclf5
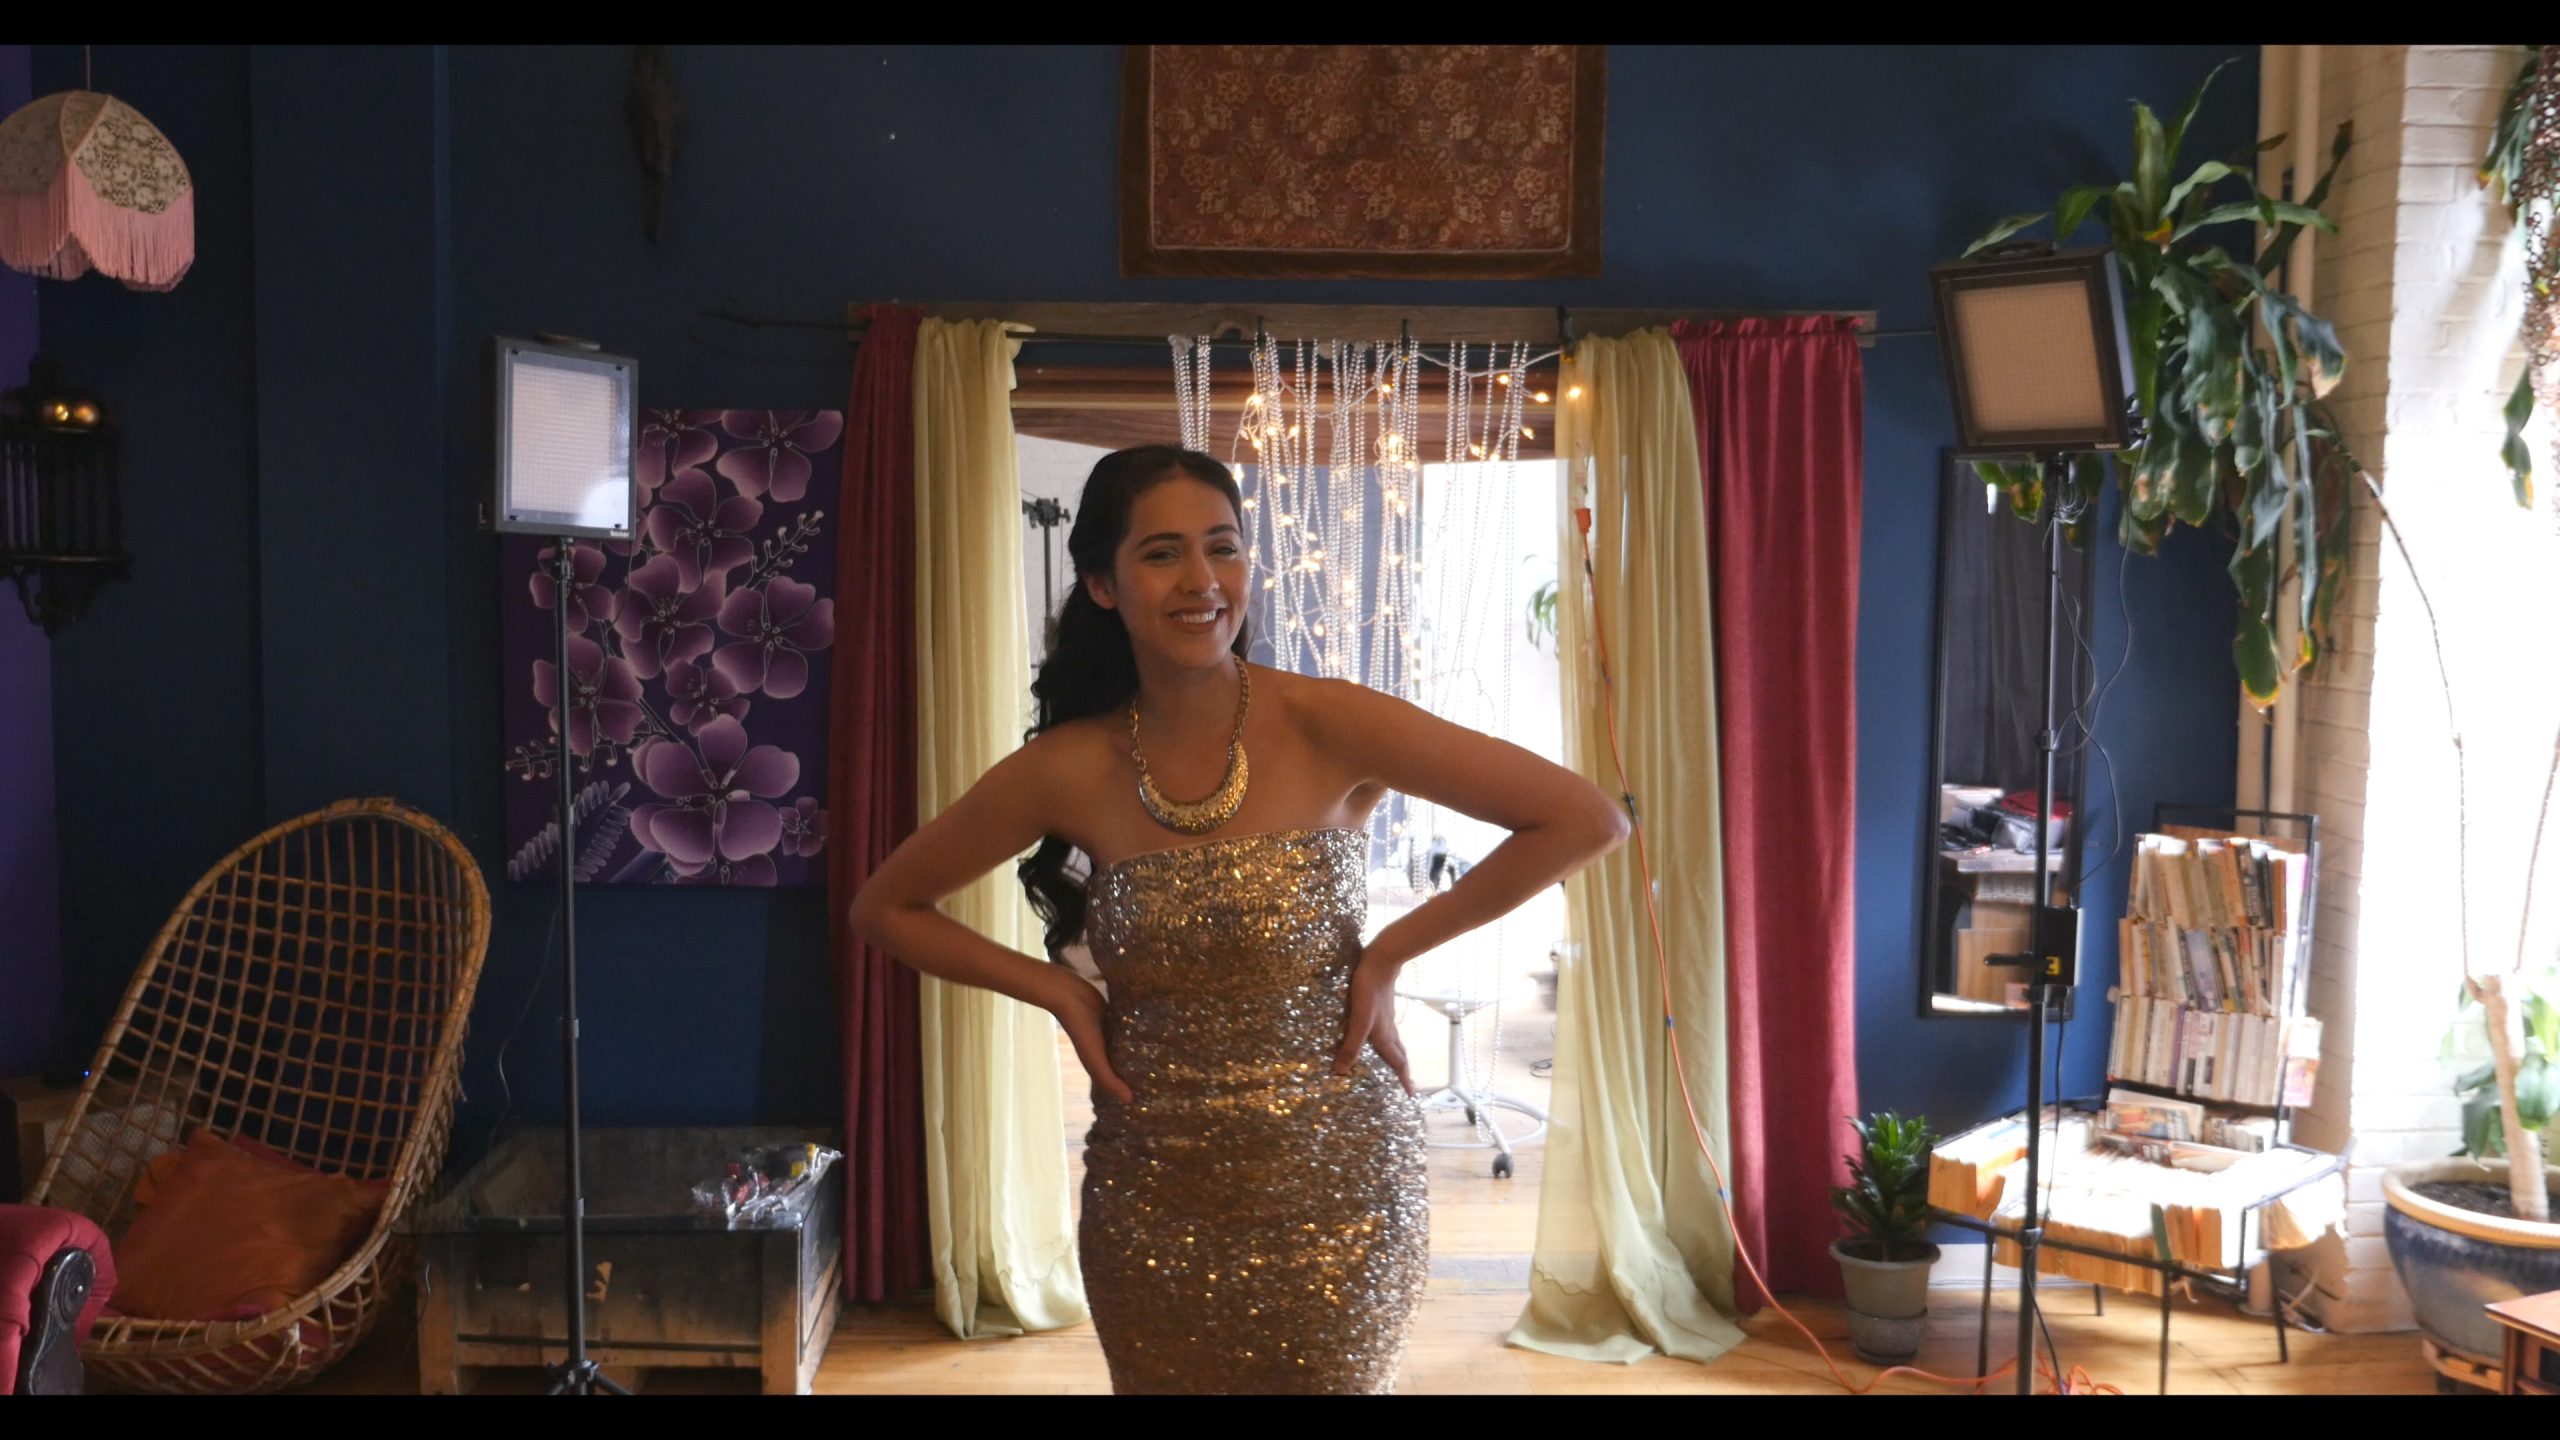
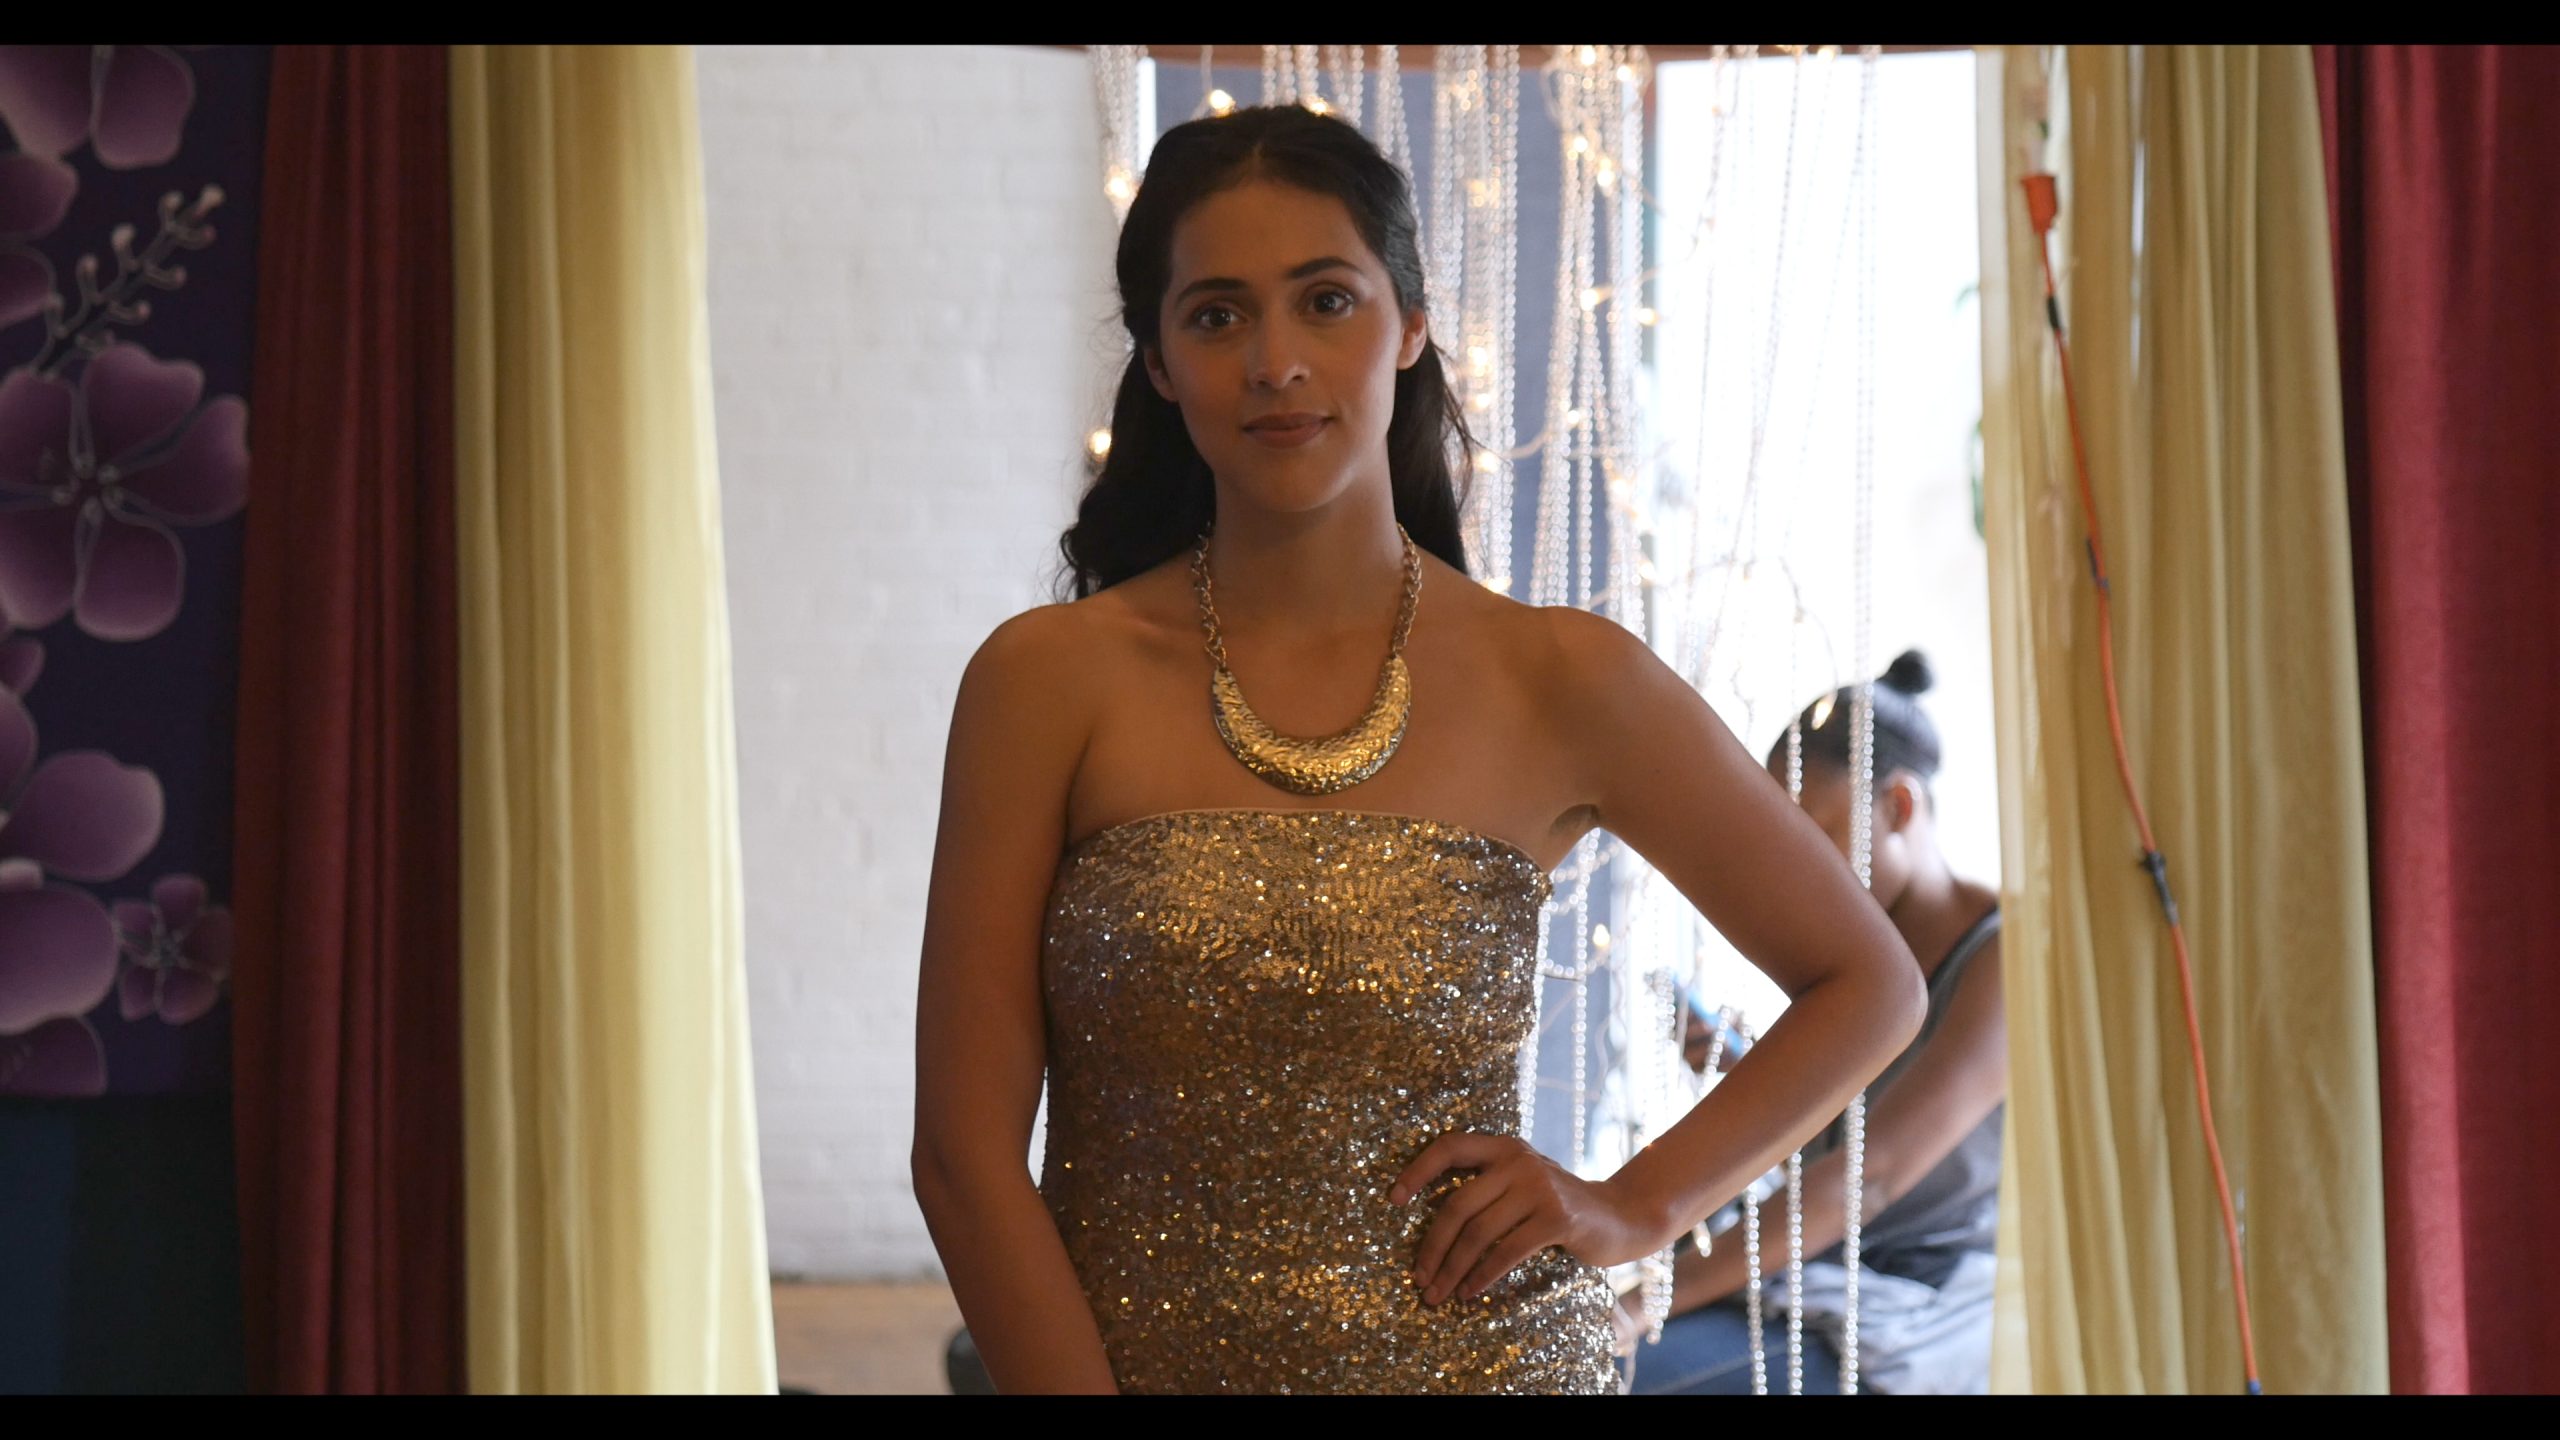
In a situation like this where the location doesn’t have the same look as the concept, it is always best to show as little of the location as possible. So I threw on the metabones speedbooster to get an even shallower depth of field and also I switched to an 85mm T1.5 cinema lens from Bower. This allowed me to get a narrower field of view so only Diana, our model and a bit of the location is visible. Plus I open the lens aperture up all the way and keep the background so out of focus that all you really see are the out of focus lights we have set up.
Metabones Speed Booster
B&H https://bhpho.to/3H6shOA
Adorama https://adorama.rfvk.net/rn0MND
Amazon https://amzn.to/3fNRYrc
Amazon Canada https://amzn.to/3qT4so4
Amazon UK https://amzn.to/3An2Iq6
Amazon Germany https://amzn.to/3408qly
eBay https://ebay.us/LlOjHb
85mm Cine Lens T1.5
B&H https://bhpho.to/3AmbVPz
Adorama https://adorama.rfvk.net/15gxdx
Amazon https://amzn.to/3fQPXe8
Amazon Canada https://amzn.to/3rBQzcW
Amazon UK https://amzn.to/32pCmXX
Amazon Germany https://amzn.to/355vRuk
eBay https://ebay.us/Q0FnpO
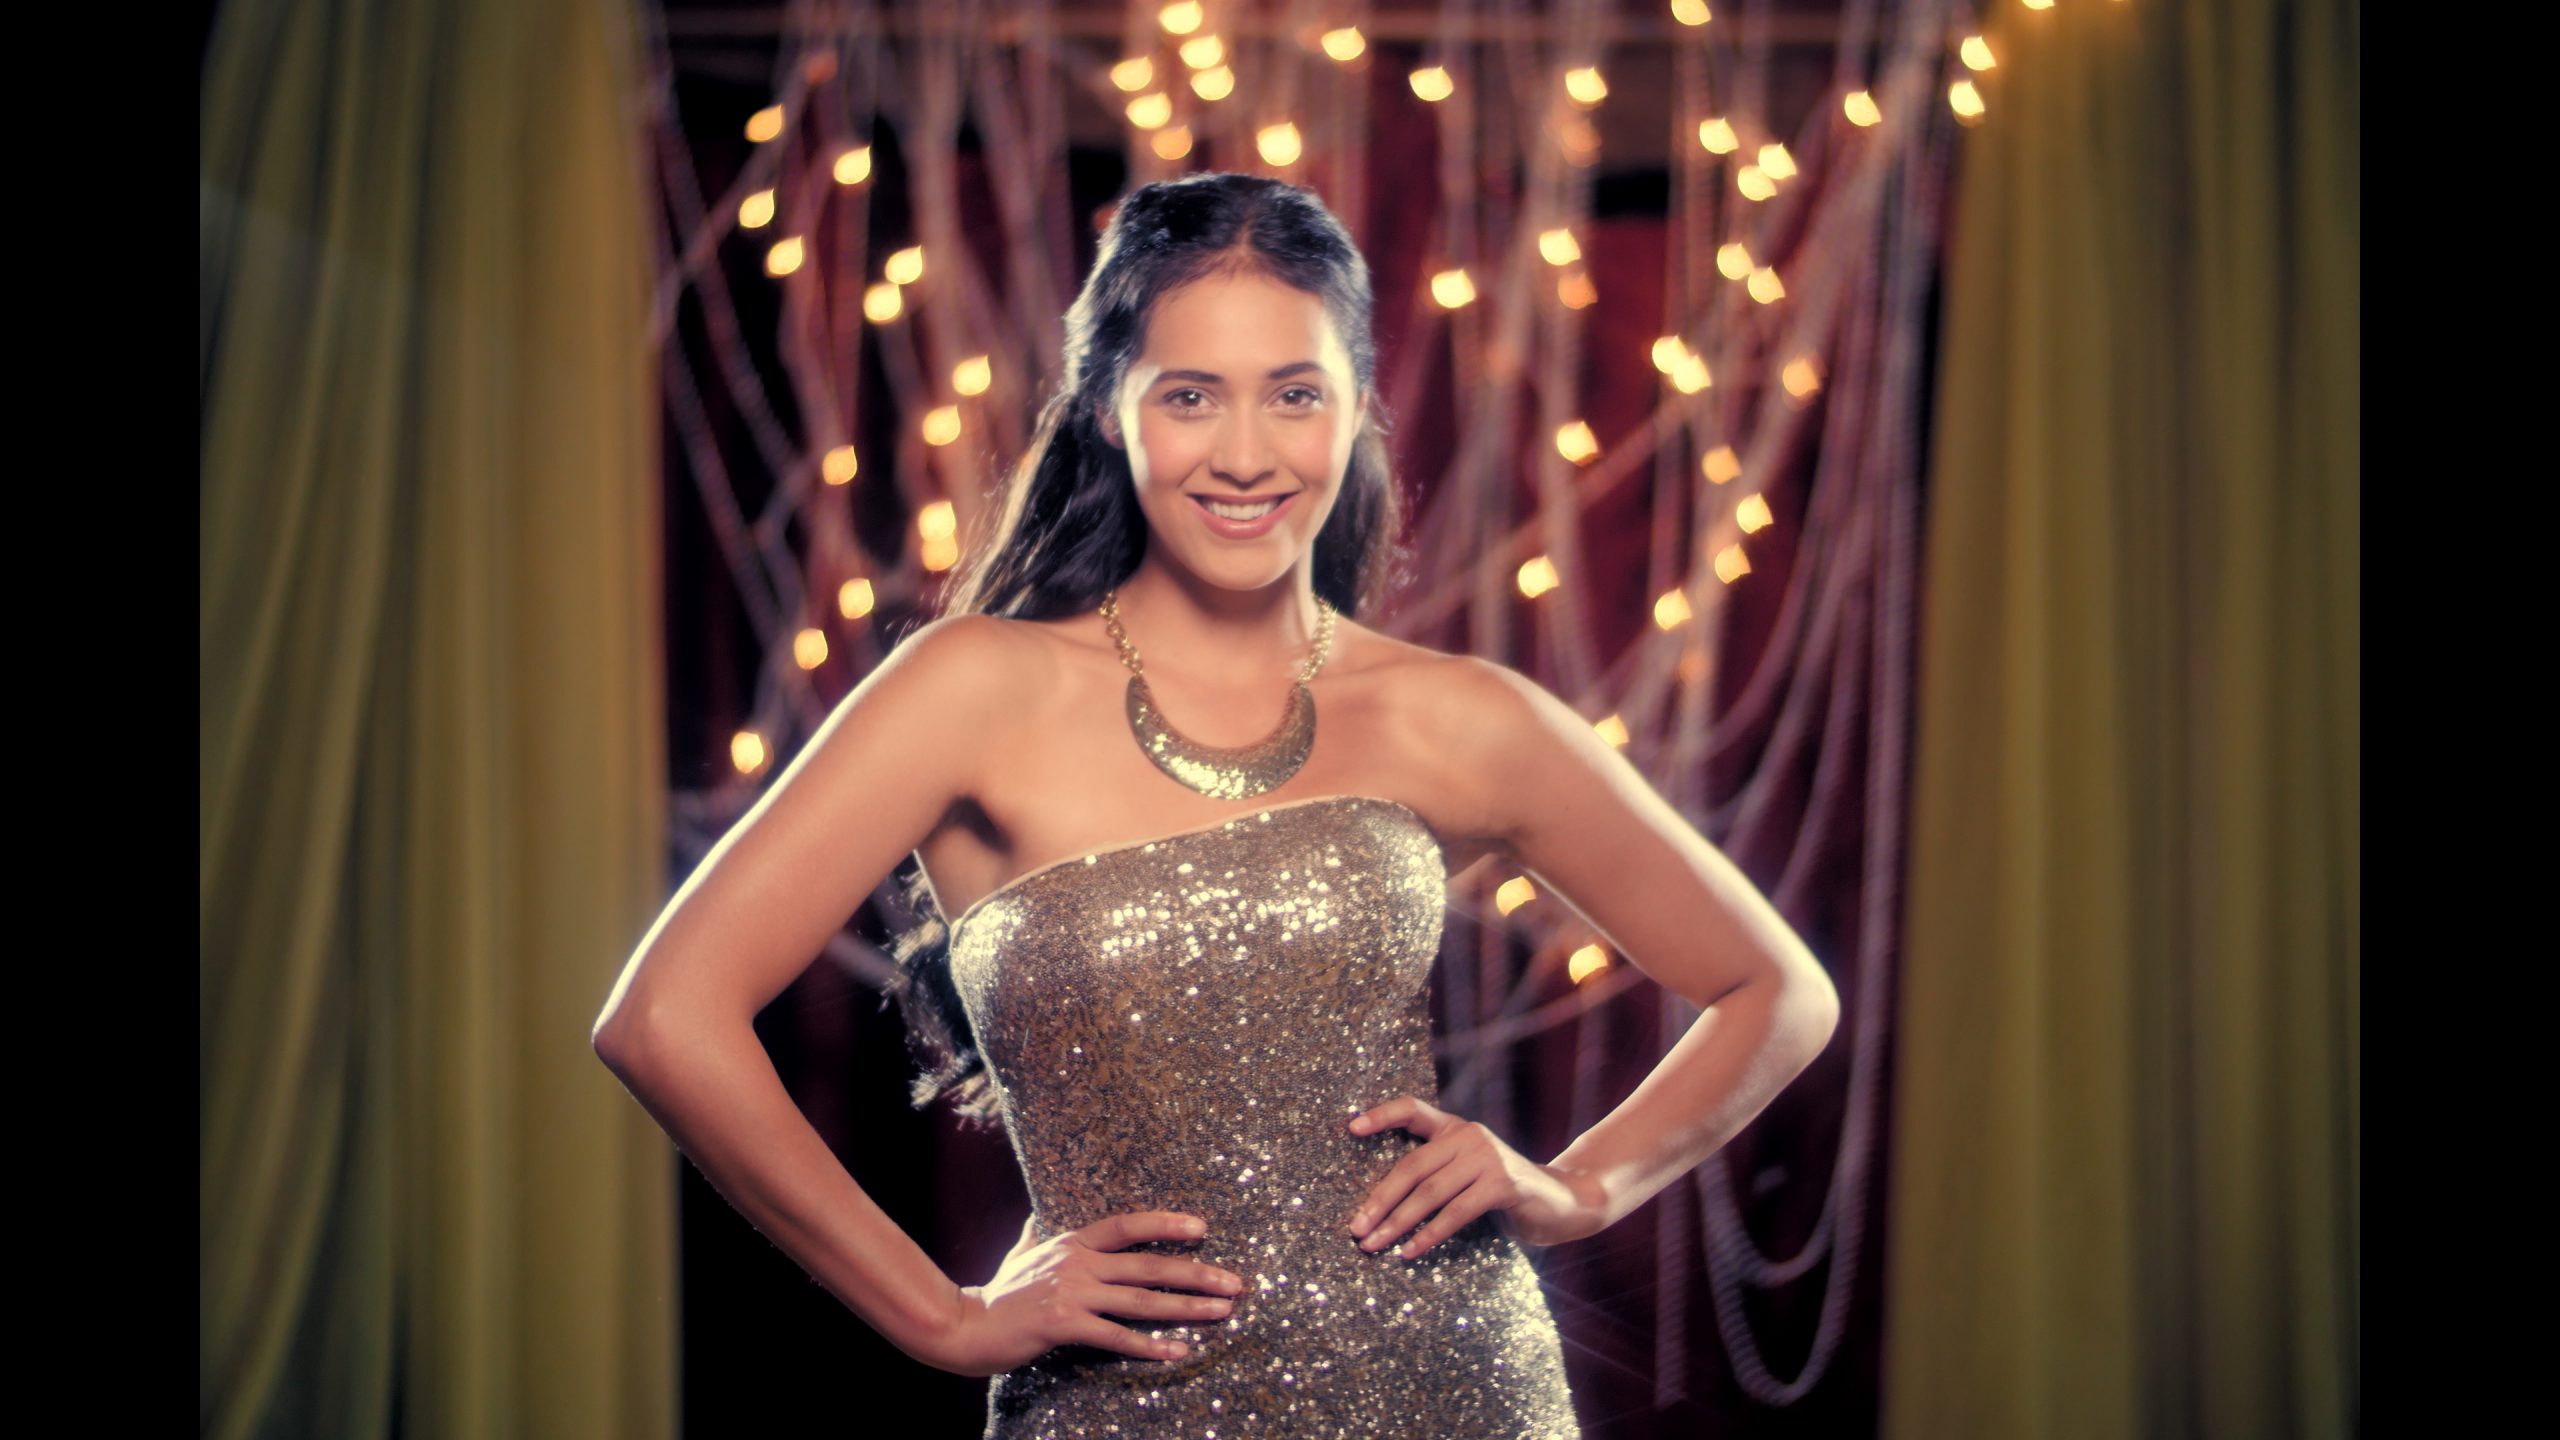
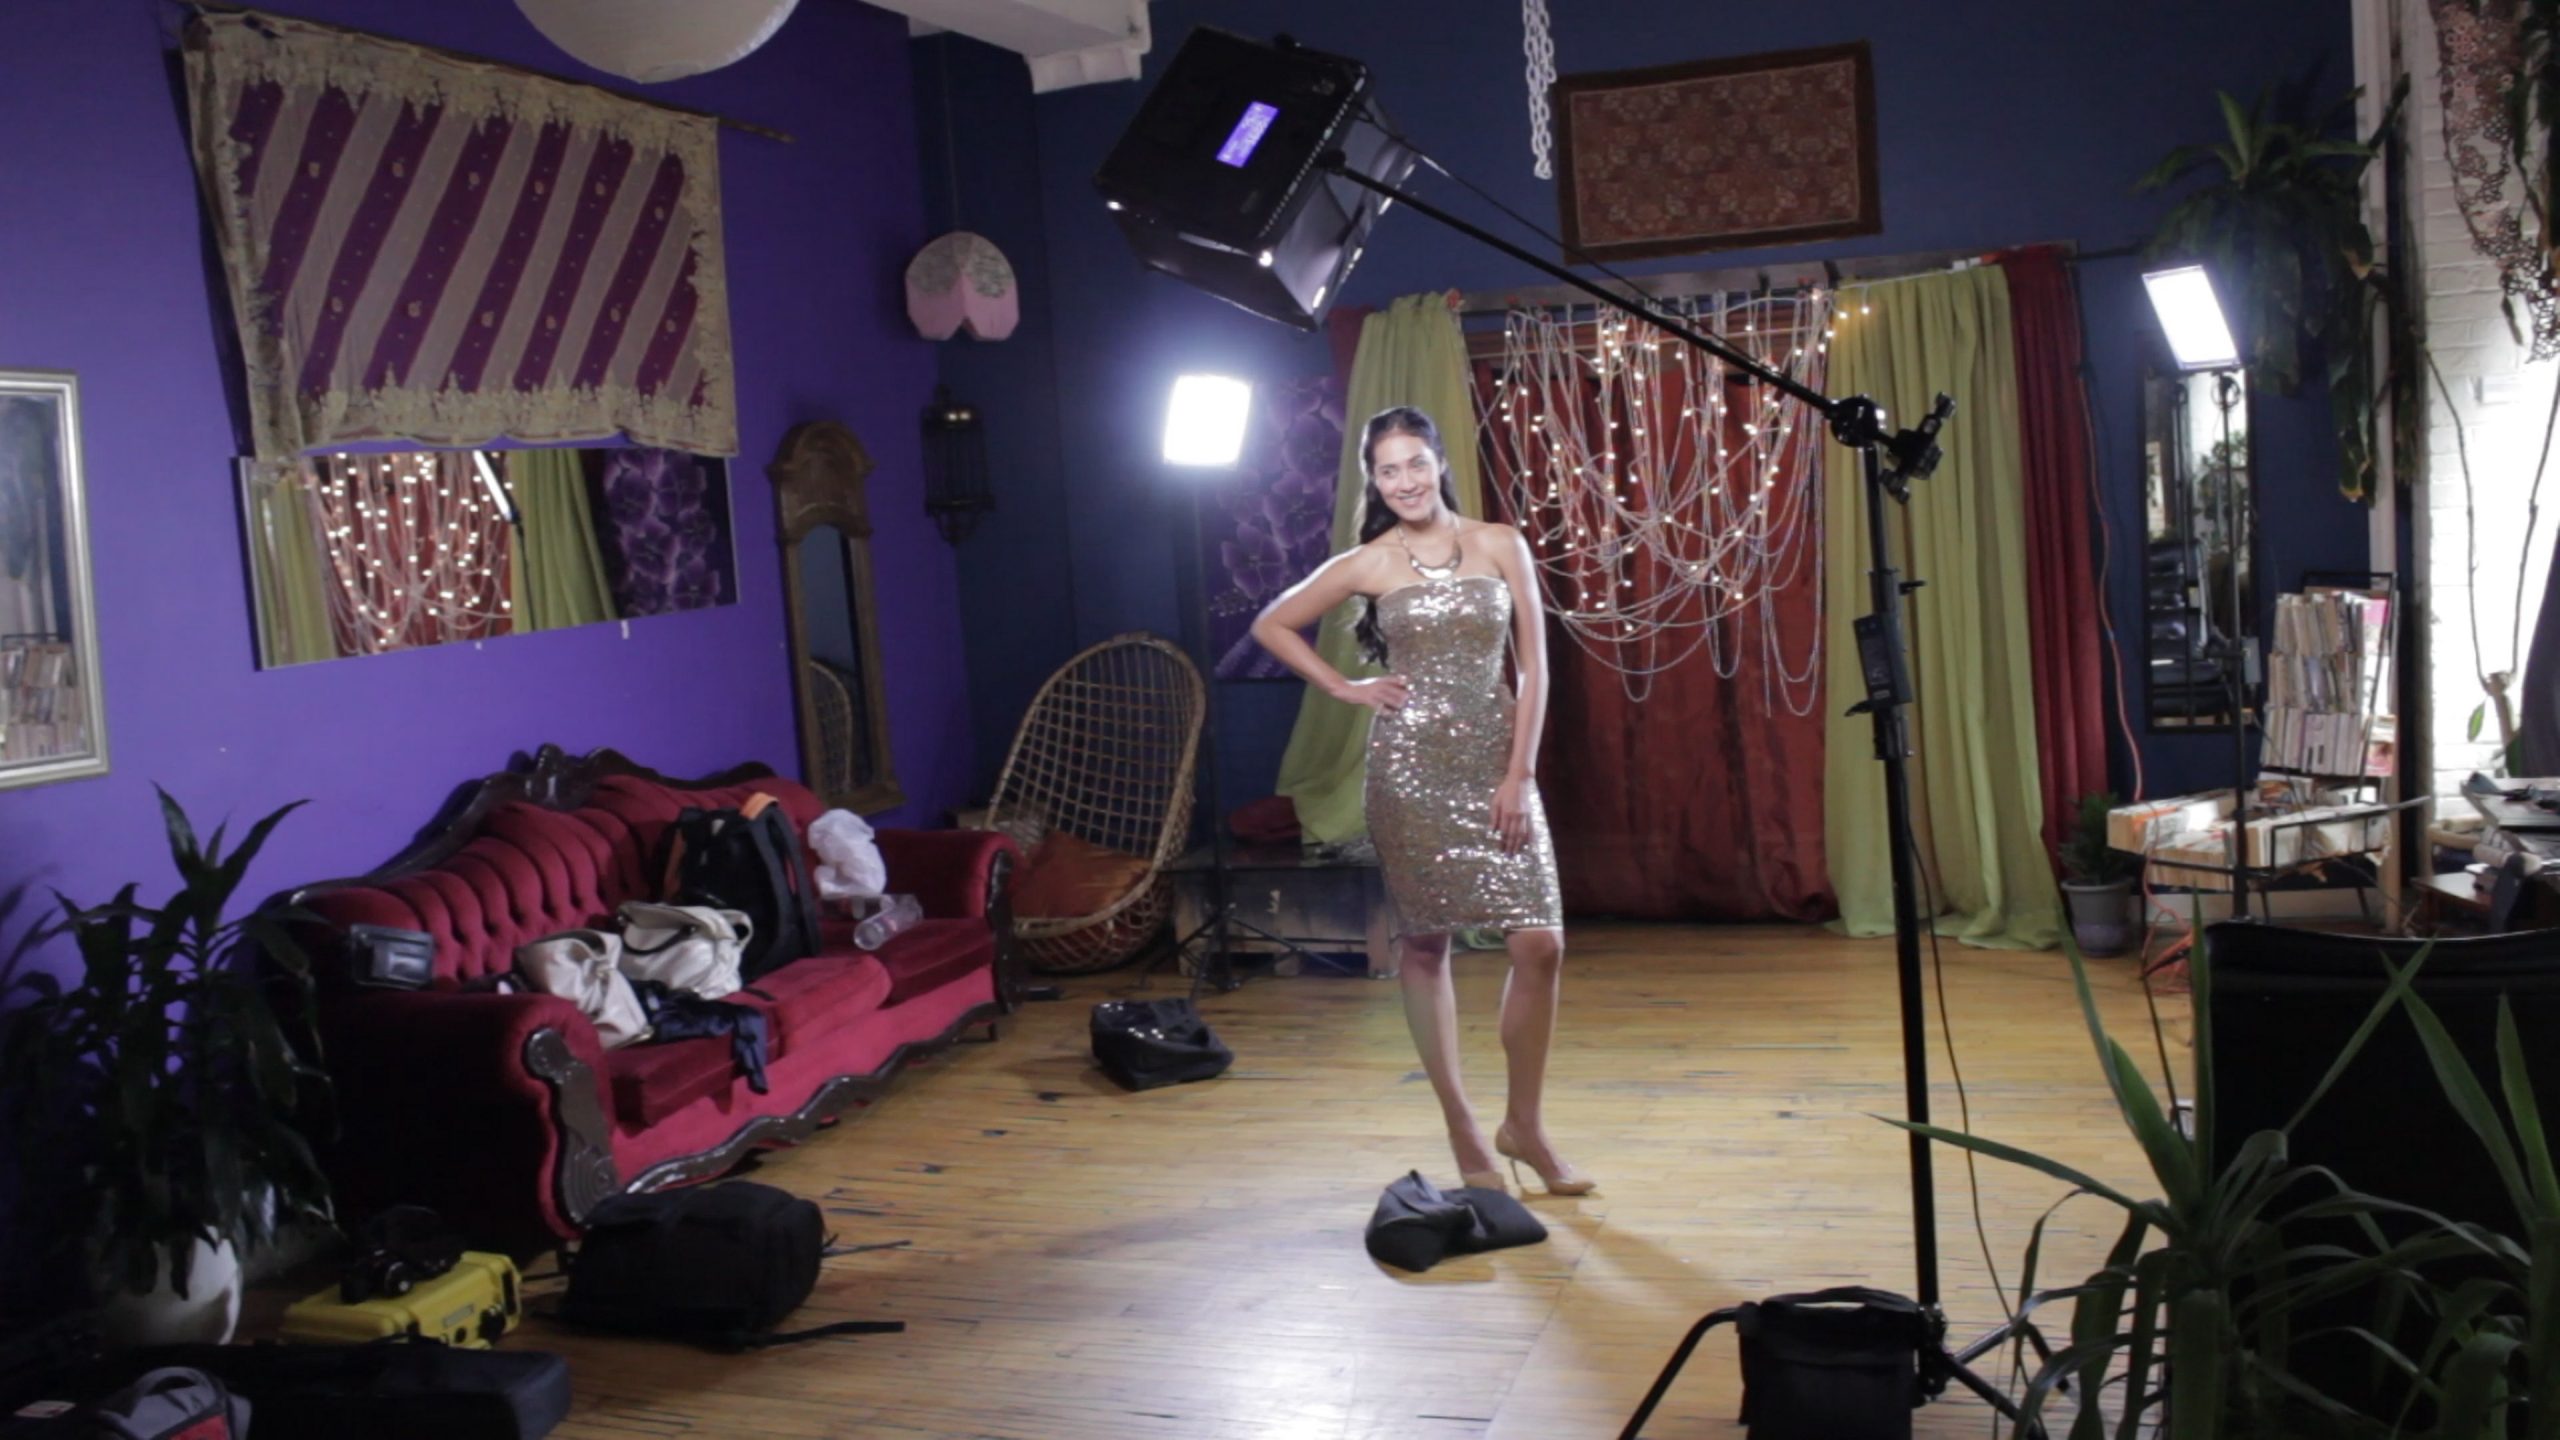
Once I figure out the camera position and framing then I have Izabella work on the background. Always figure out your framing before you go doing detailed work on your location. Otherwise you might just spend time set-dressing something that will never even be visible in the final shot. We mainly just framed that door behind Diana where we hung the Christmas lights. The room on the other side of that door has huge windows that let in a lot of daylight. To make the small lights stand out in the shot I first cover that door with black fabric. Then Izabella tries to evenly spread out the few Christmas lights that we have available and these shiny beads. Both of these props cost us around $15 in total. While Izabella is busy adjusting that, I start setting up the lights.
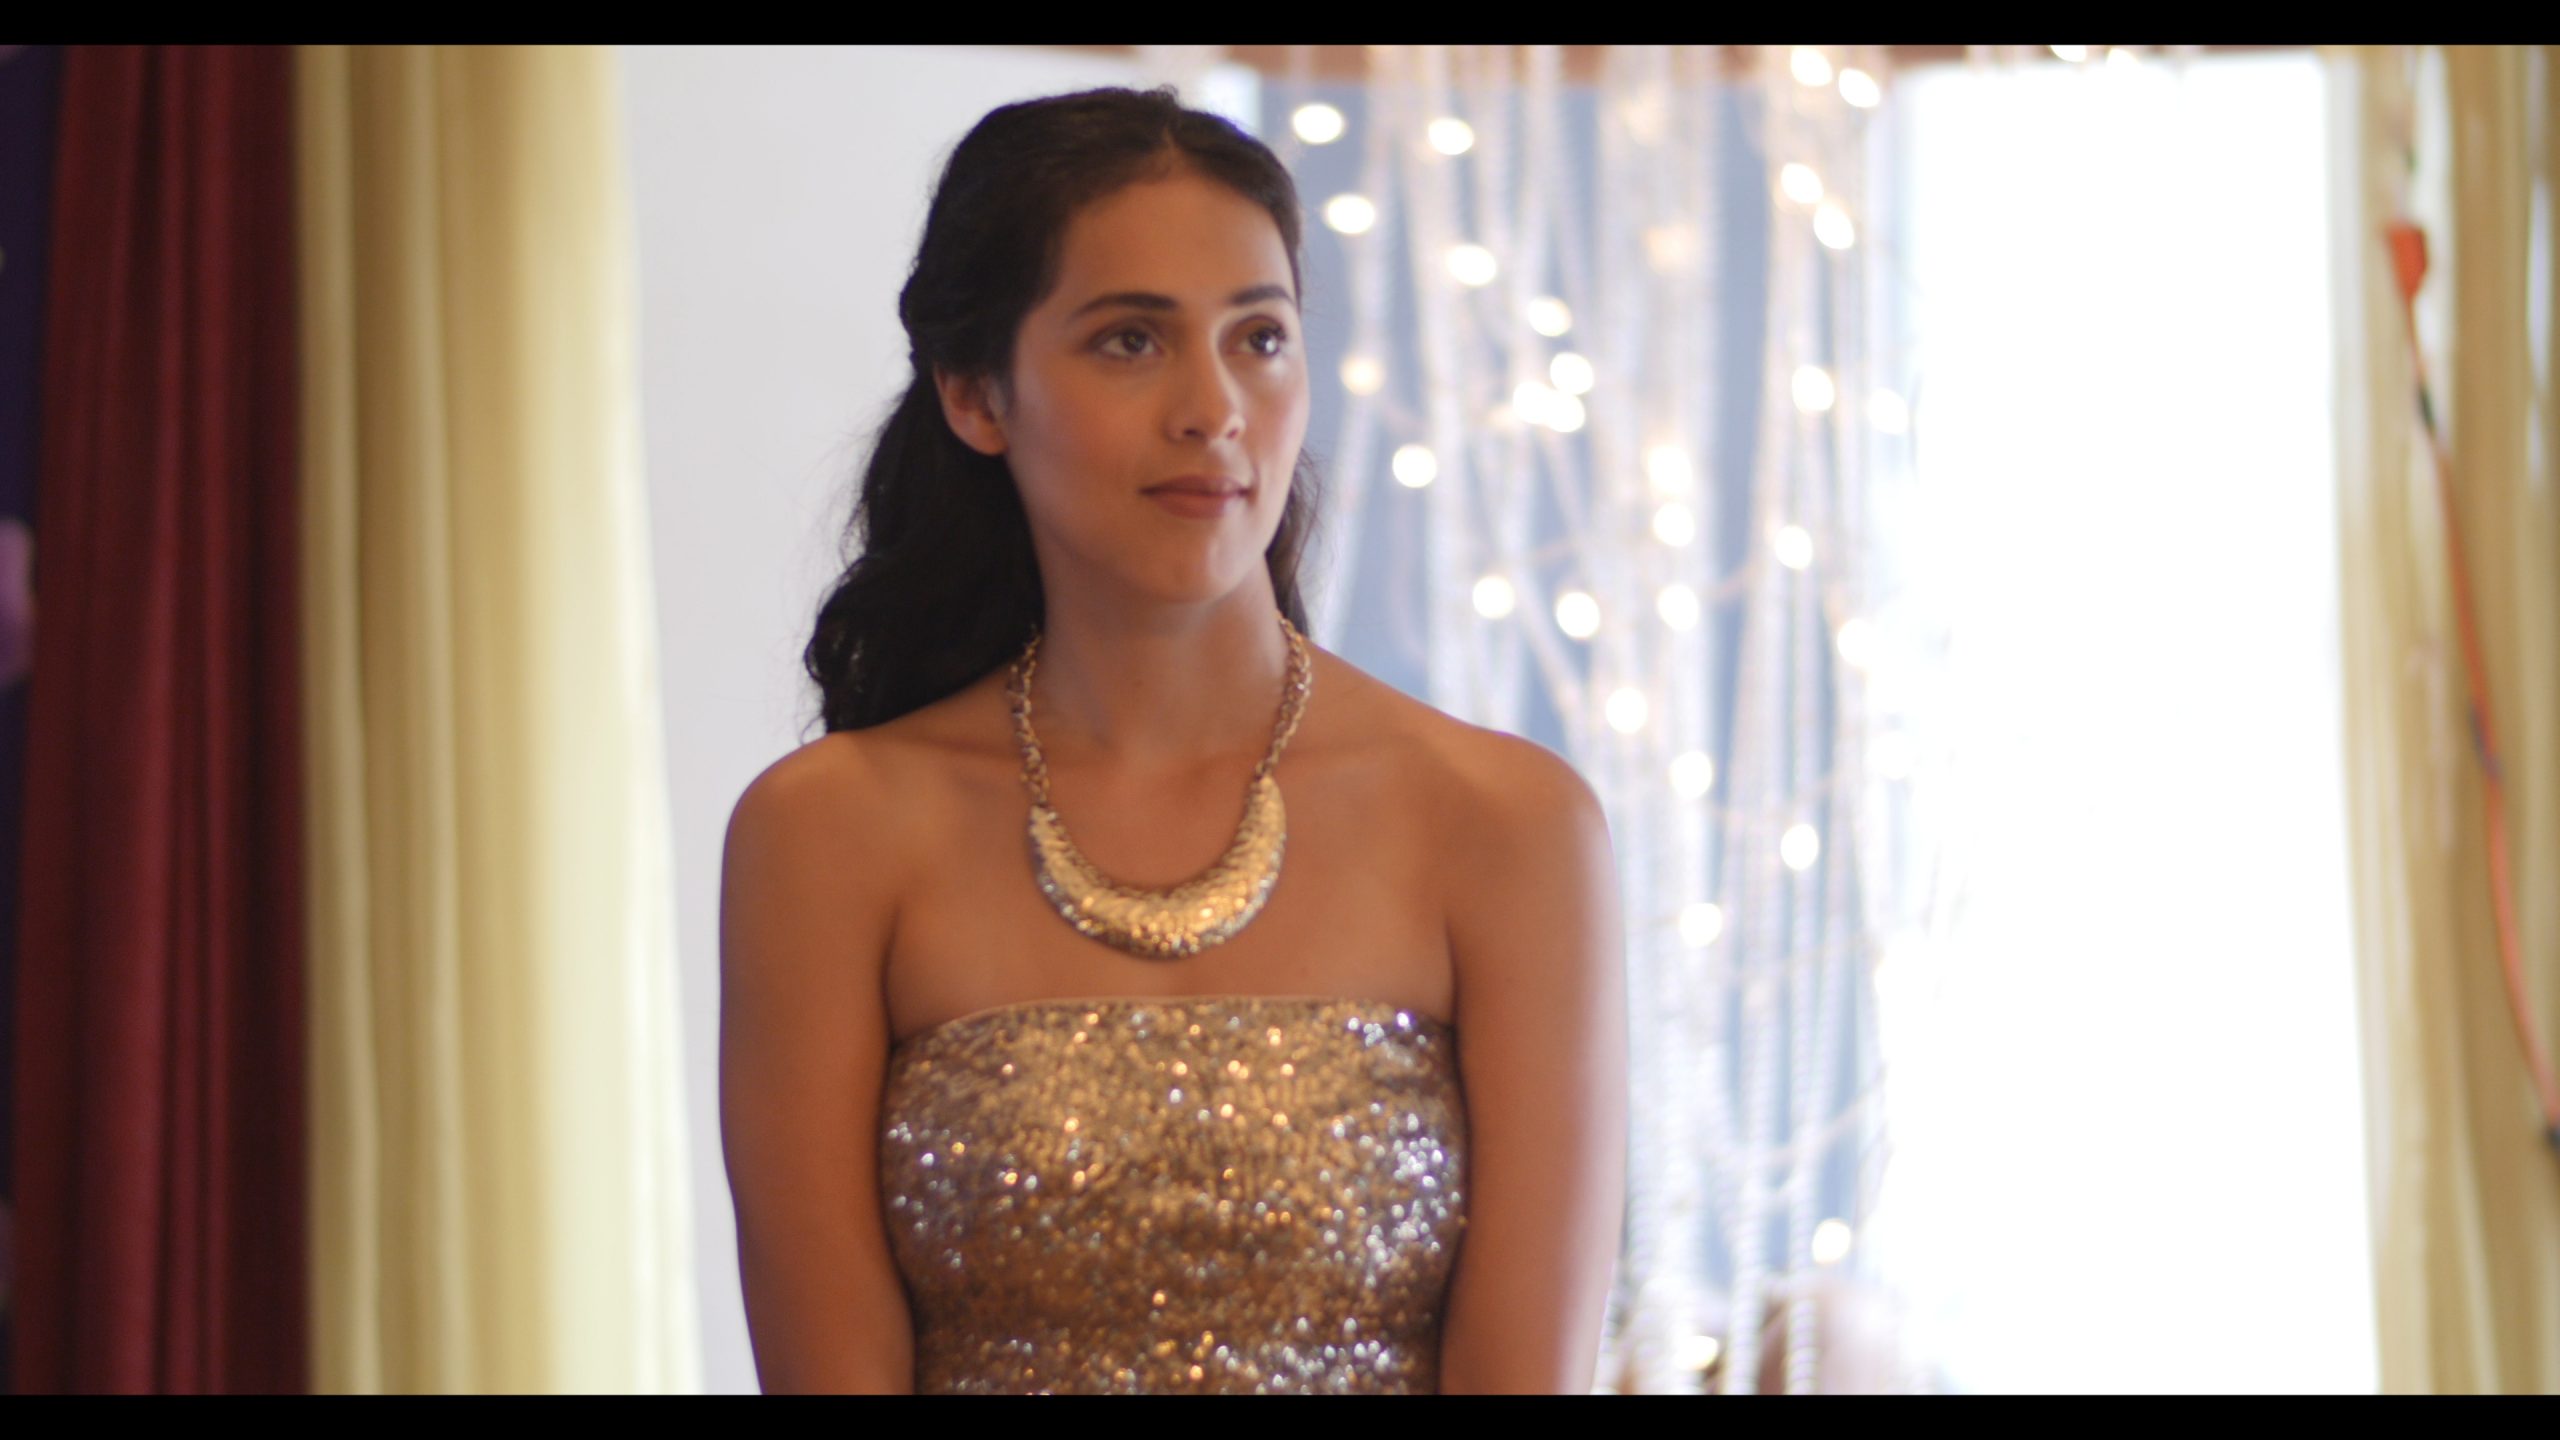

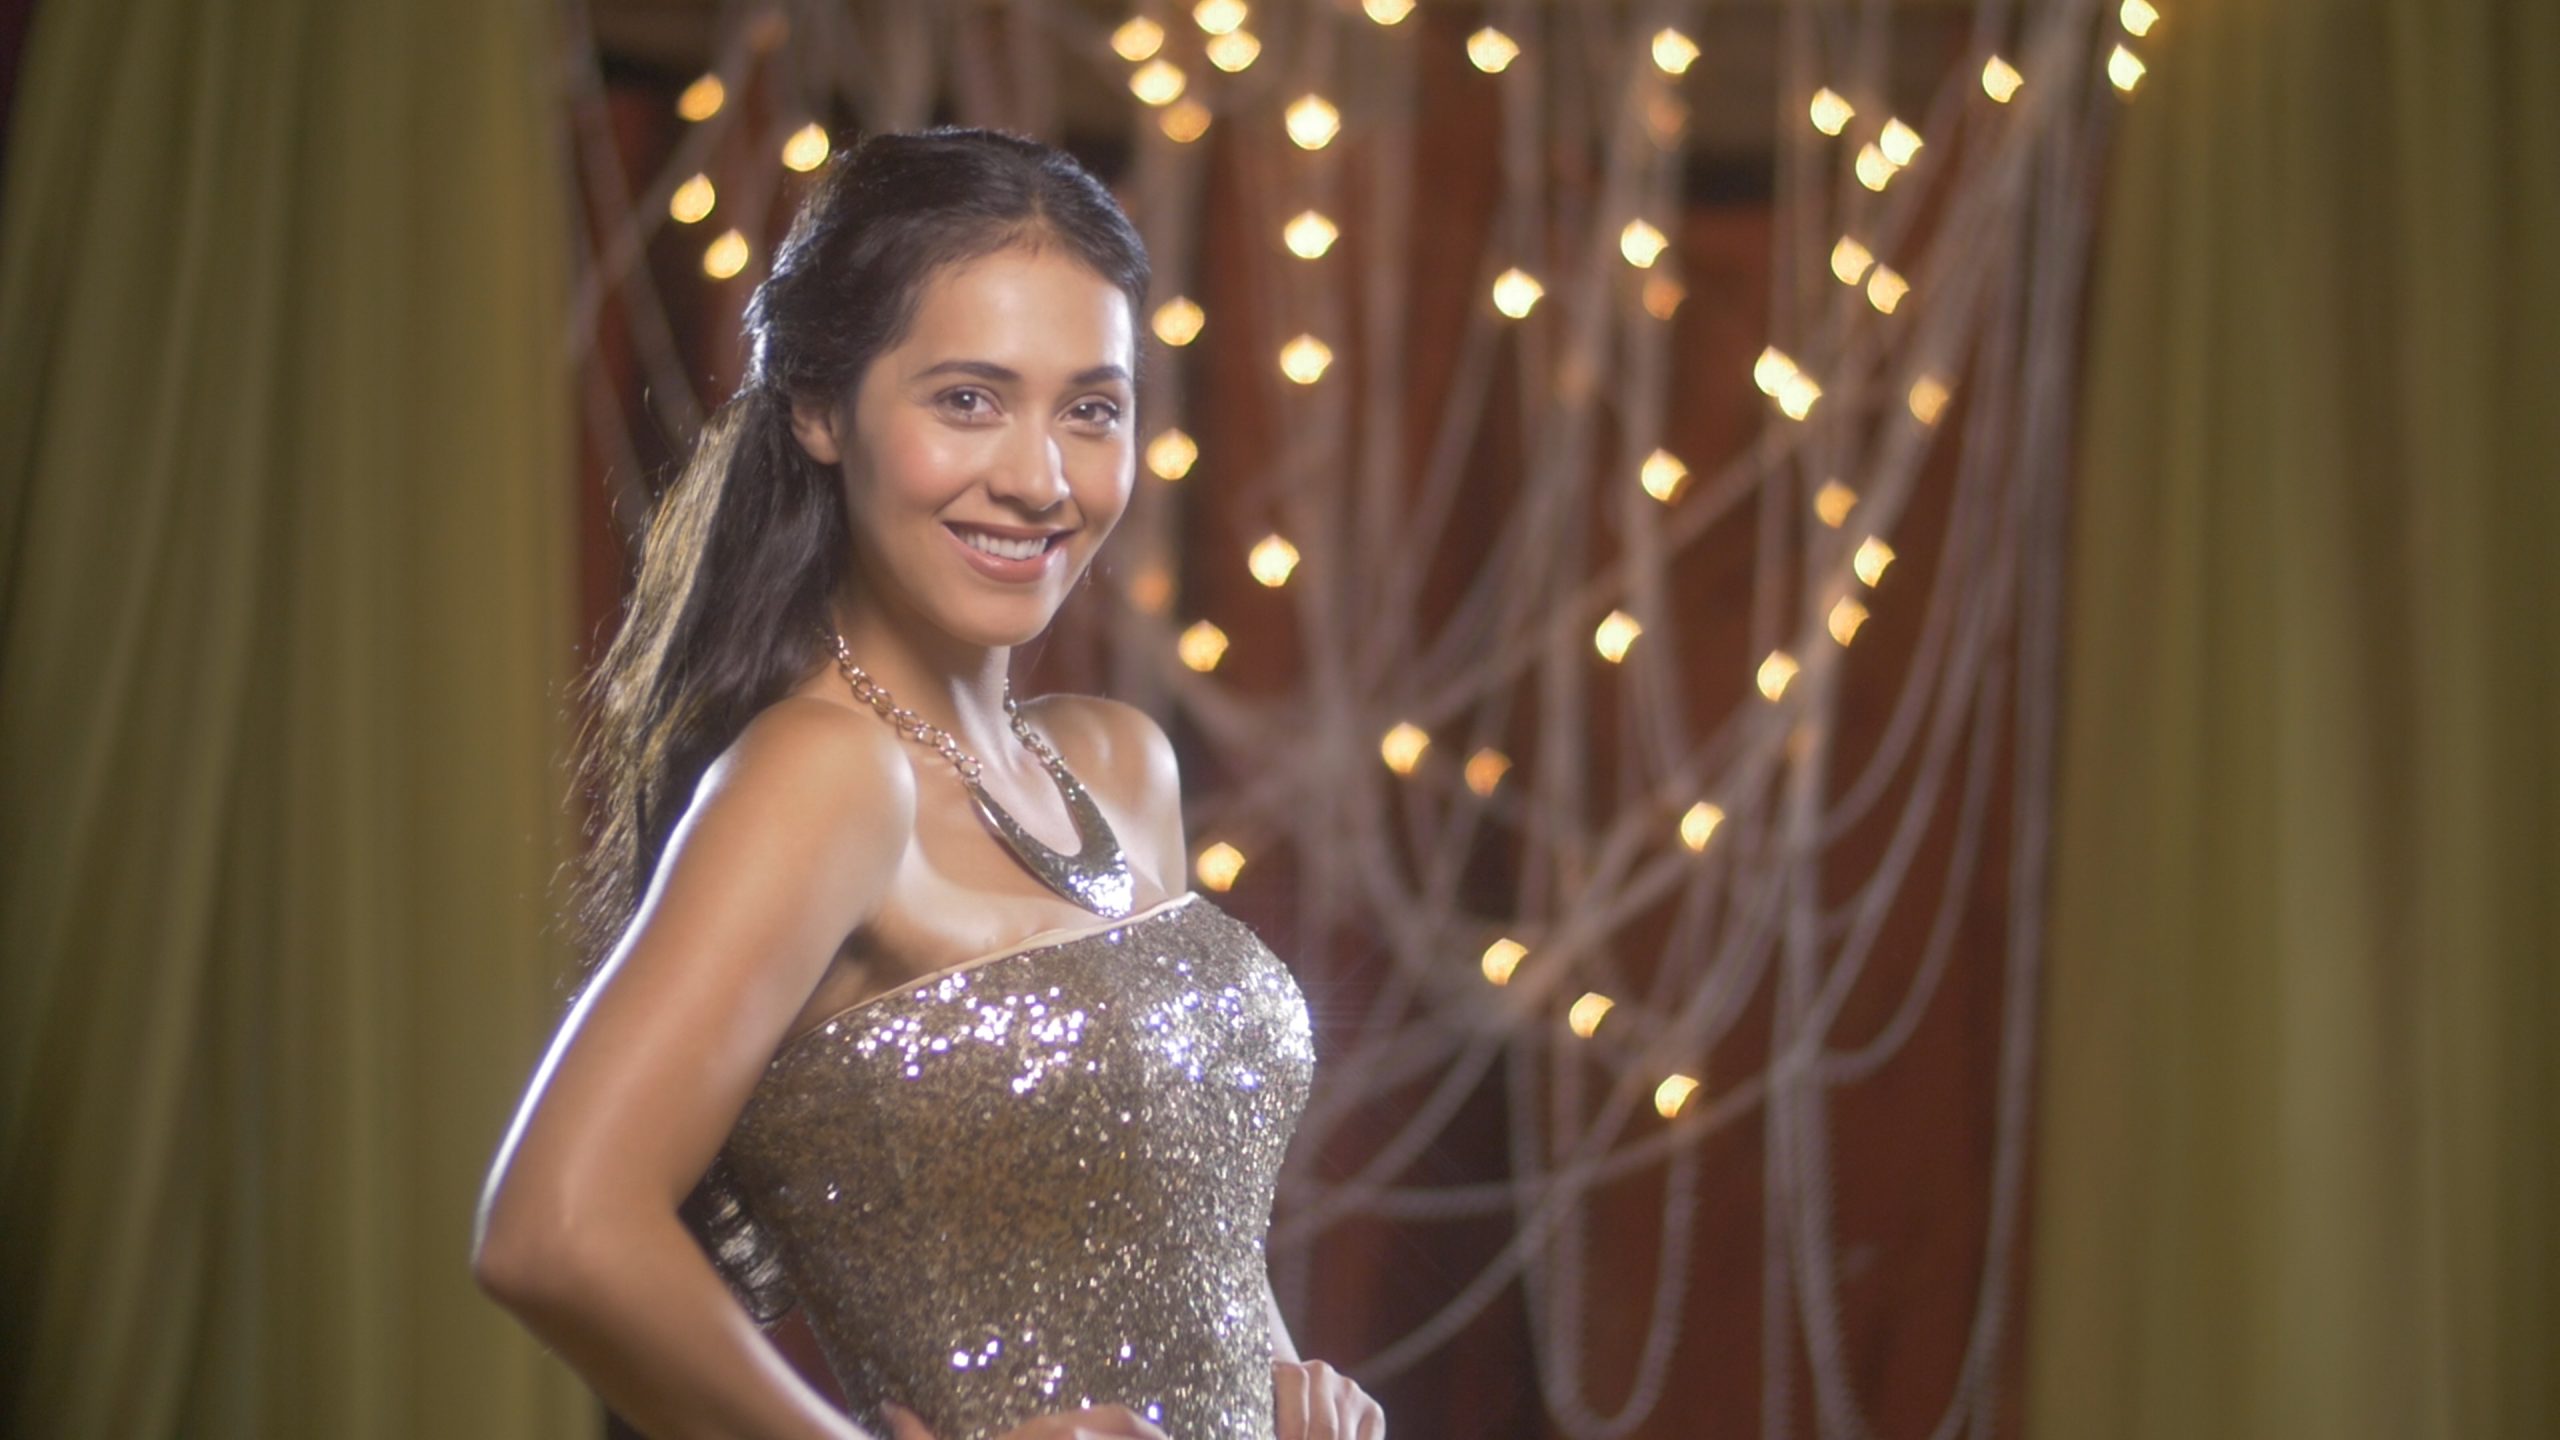
First I want to add some edge lighting to really separate Diana from the background but also to give a bright, shiny edge to her skin and that beautiful outfit she has on. This is easily done by putting two lights behind her that are aimed at her back. The further apart you place these lights from each other the bigger that bright edge will be. I also put the intensity of those lights all the way up. You can see now how those lights create a white edge along her arms and sides of her face. I am careful however not to put the lights so far apart that they also light her nose. That would make her nose look bigger which is not what we want.

LED Panel Light
B&H https://bhpho.to/3FT685b
Adorama https://adorama.rfvk.net/7mDPkd
eBay https://ebay.us/FnrB7i
C-Stand with Boom Arm
B&H https://bhpho.to/359p4jf
Adorama https://adorama.rfvk.net/kjk6G3
Amazon https://amzn.to/3rKUEeQ
Amazon Canada https://amzn.to/33G4UNq
Amazon UK https://amzn.to/3fLypjz
Amazon Germany https://amzn.to/3nSjFnr
eBay https://ebay.us/hfSEbD
For my key light I knew I only needed one light that was positioned from the same angle as the camera but also slightly higher so it creates visible but short shadows under the nose and chin. This type of lighting is typical in what you would see in old Hollywood. This lights the model evenly and hides any imperfections while the short shadows define the face and can even make your models look slimmer than they really are.
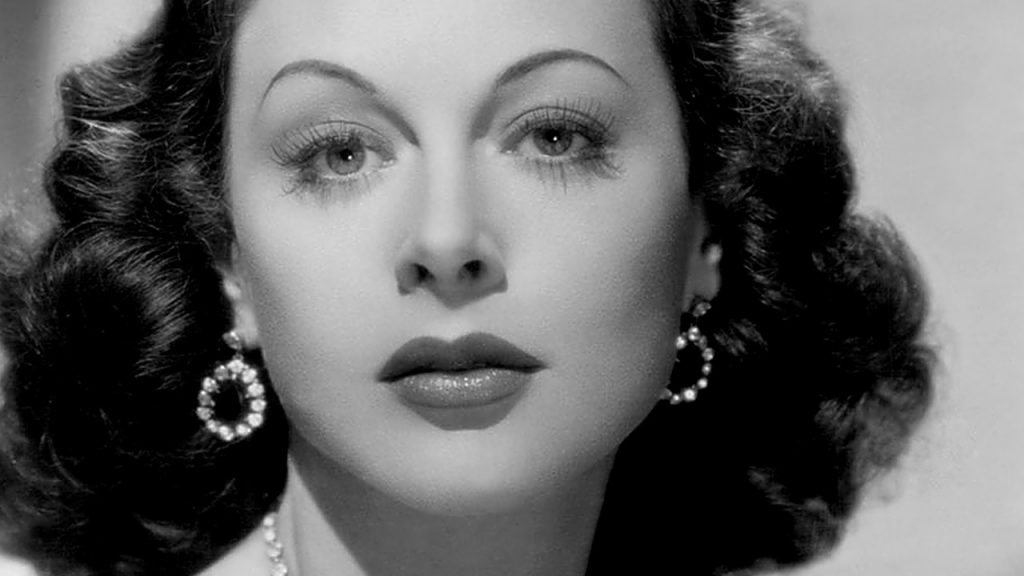
This is a typical starlet lighting used in many films and photographs throughout the years. The light I use is a square LED panel light with small diffusion on it to help soften the shadows a little bit.
I mount the light on a c-stand with a grip arm so that the stand is not visible in the shot. The keylight and the softbox also add a lot of those nice reflections in our model’s dress and that necklace which again creates that shiny glamor look I am after.
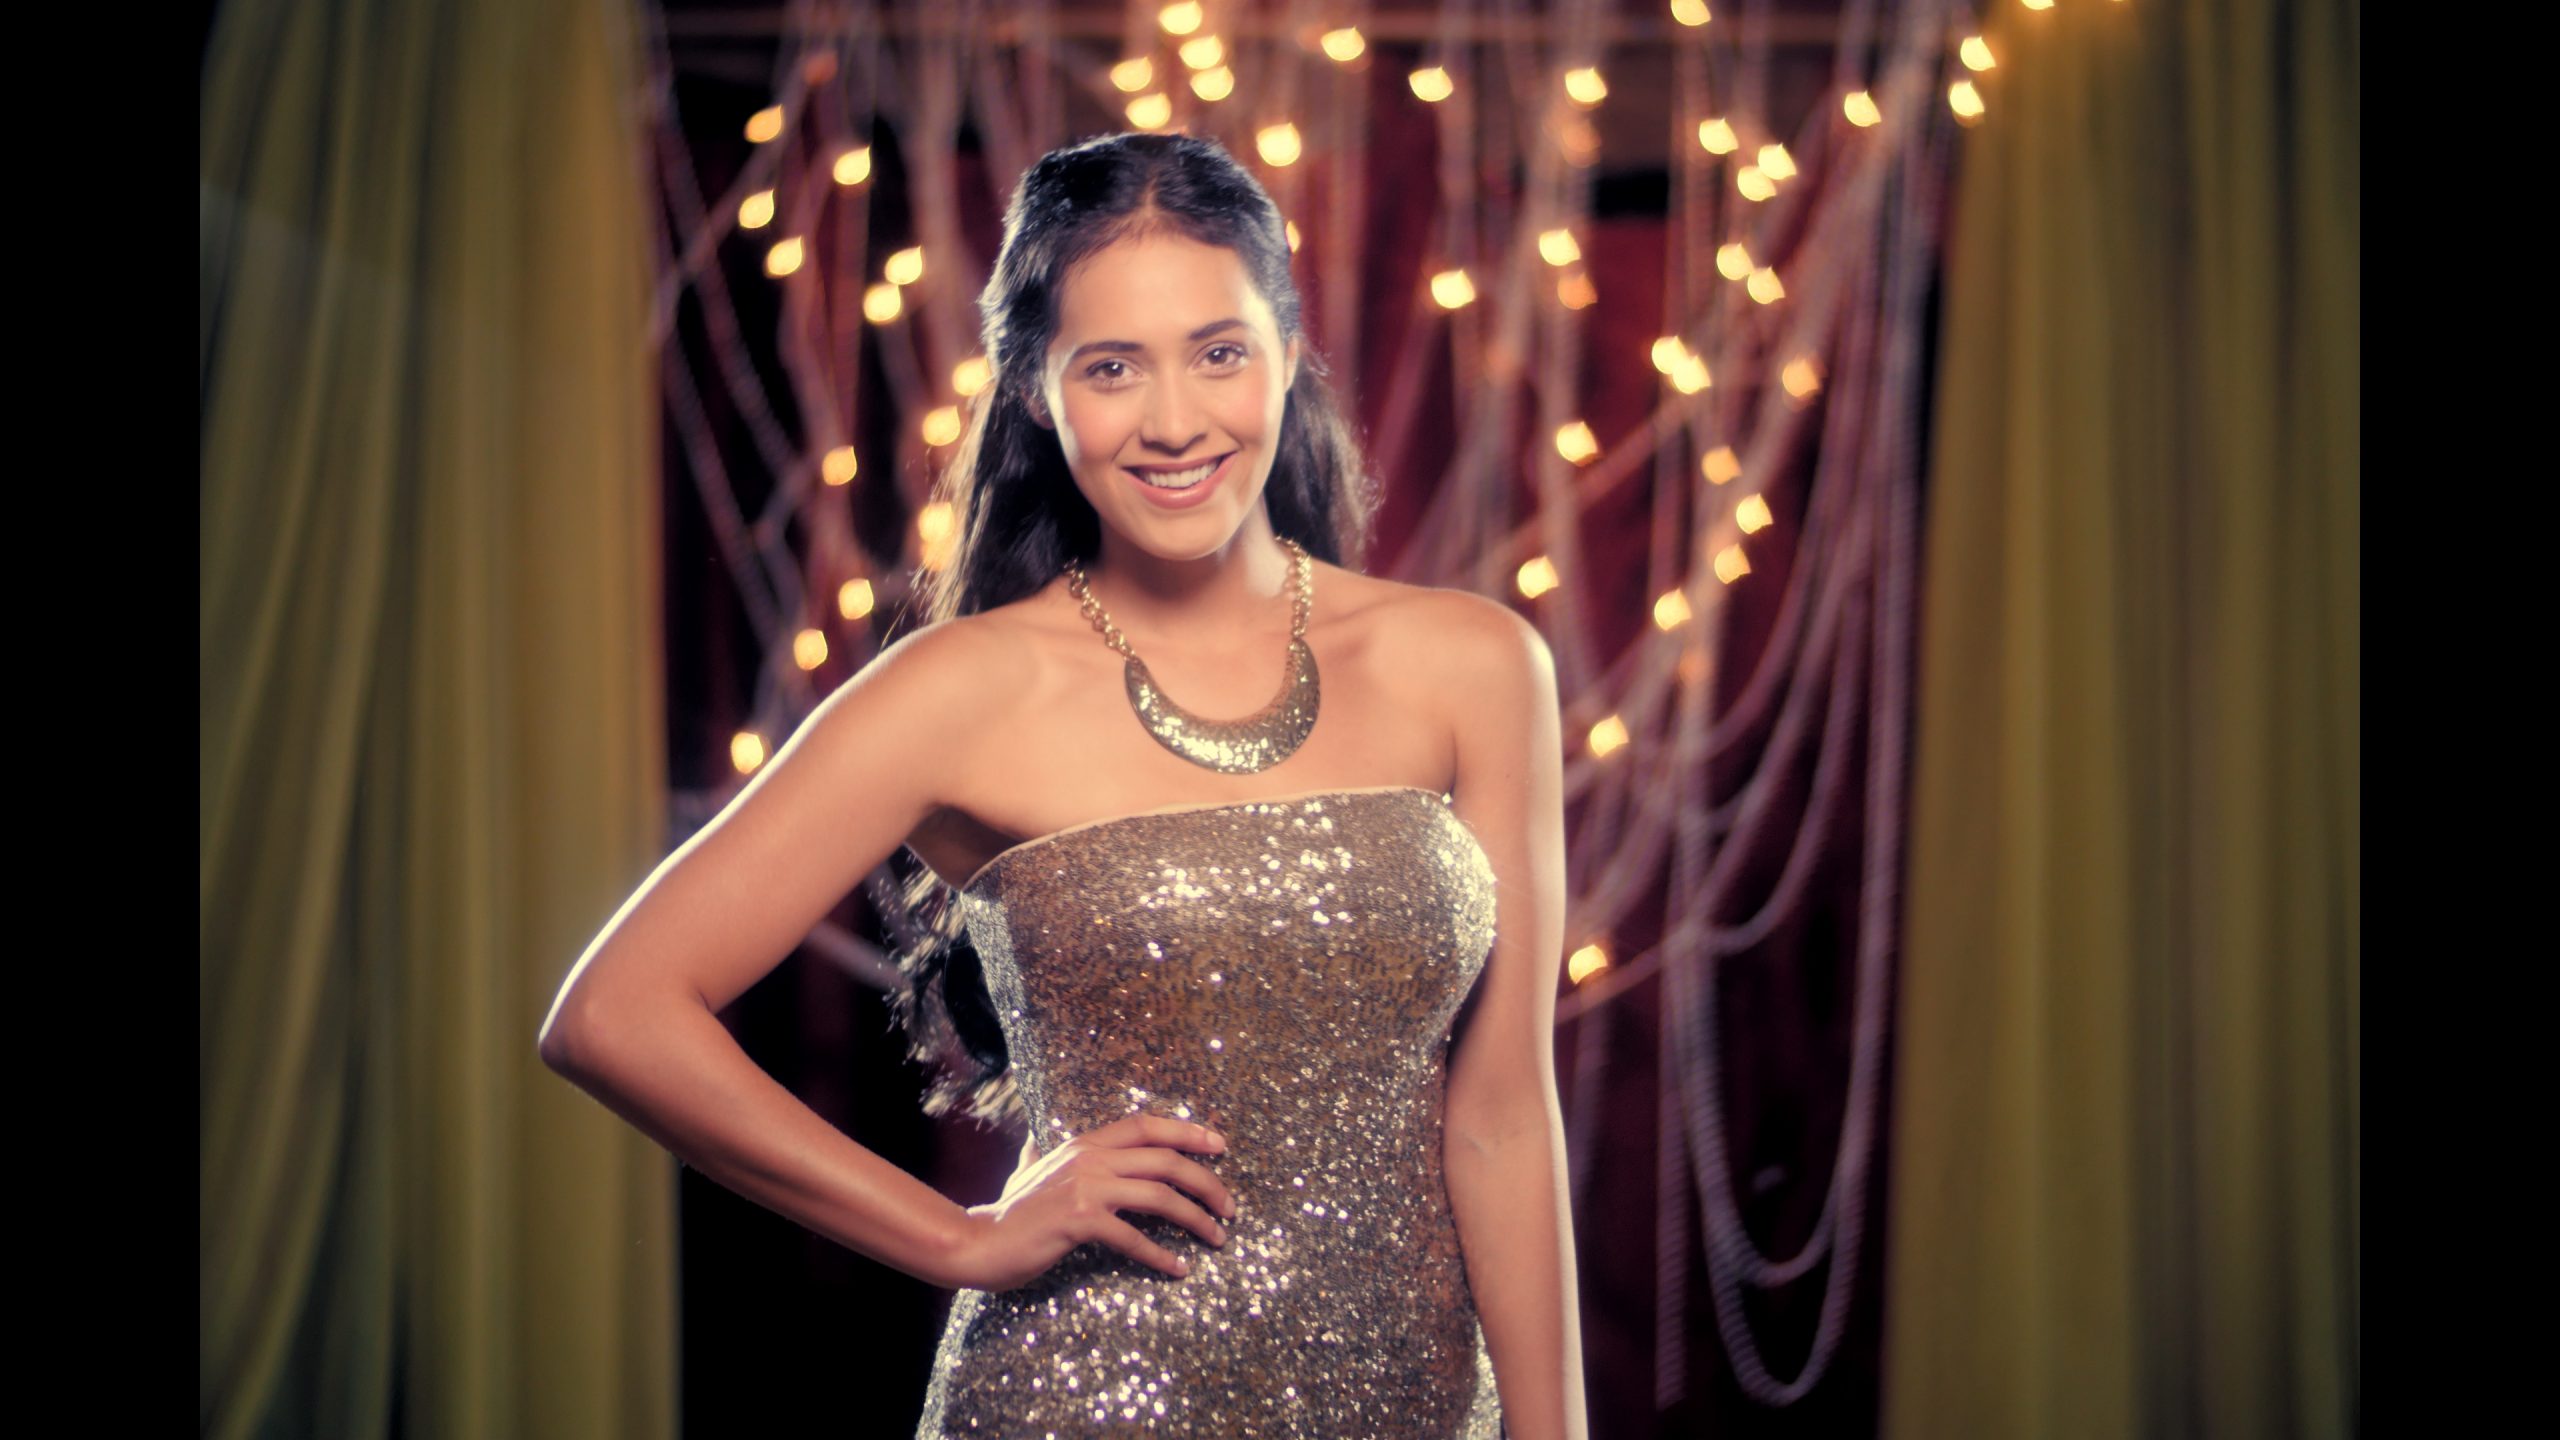
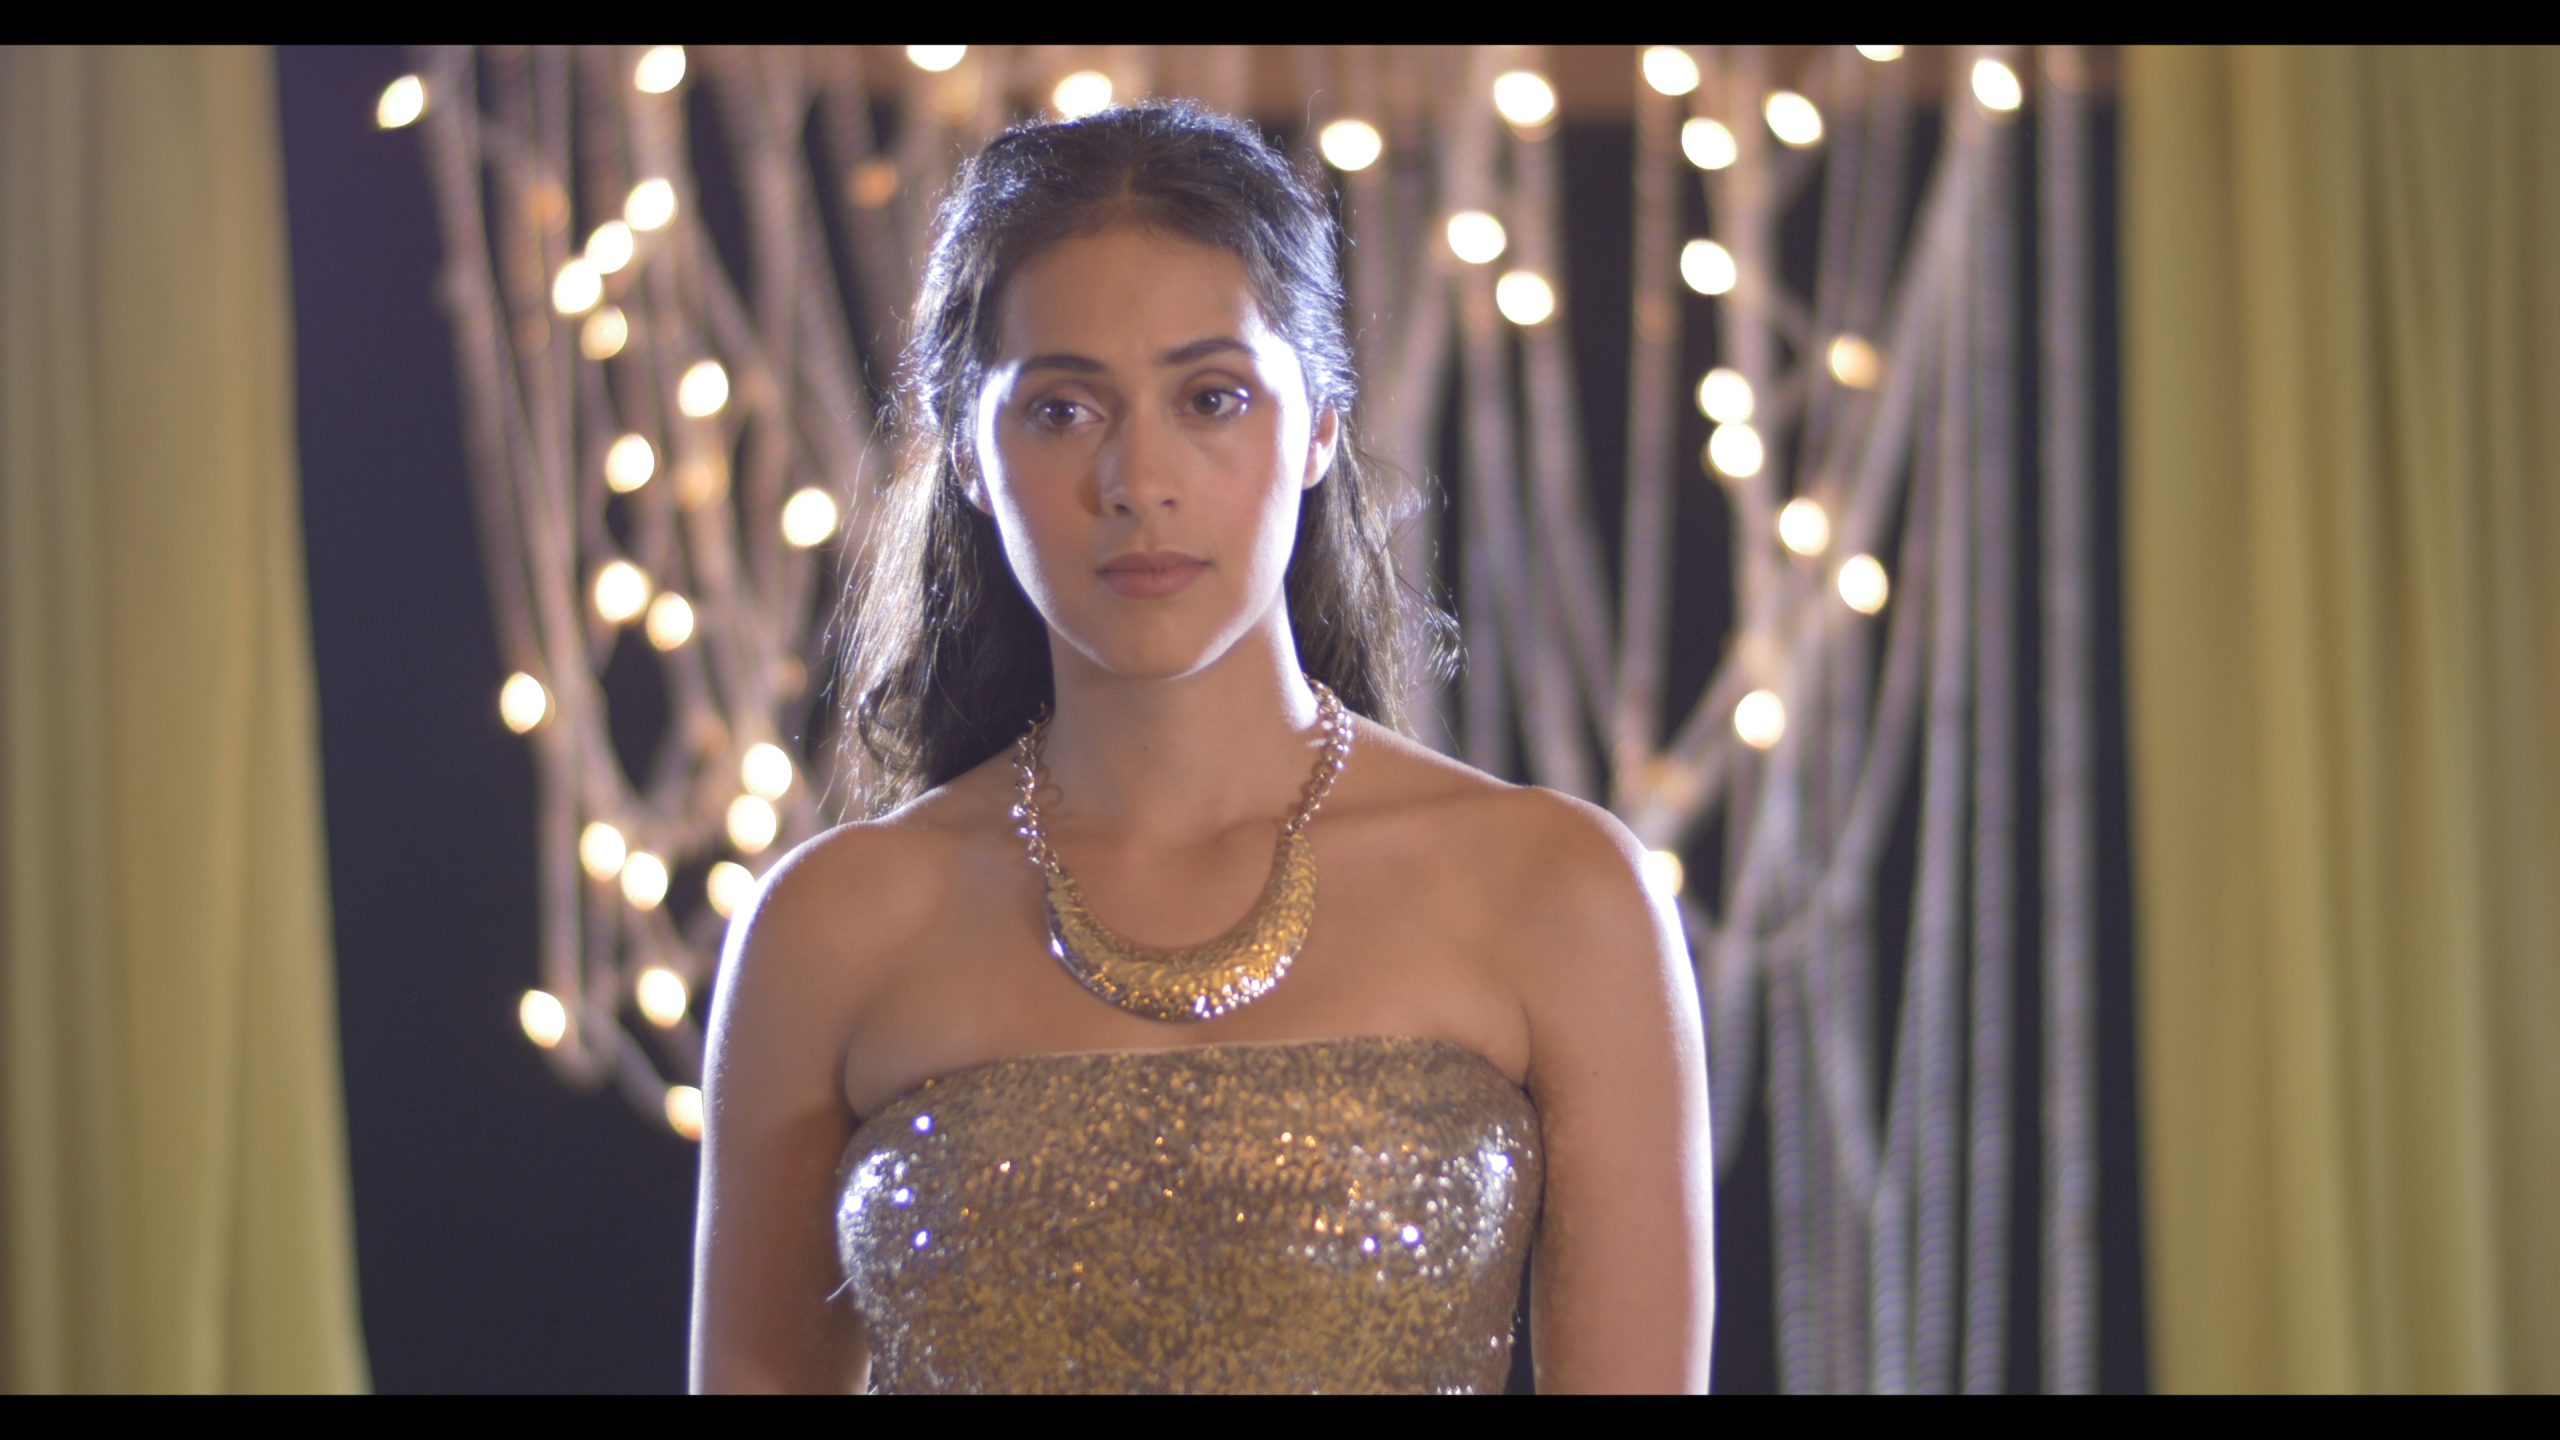
Already the shot looks pretty cool but I notice two things that can improve it even more. First is the halo in the upper corners of the shot which is caused by those two edge lights in the background. Another thing I feel that can make this shot even better is if I add a star filter to make that shiny dress look even more shiny. You will notice though that as I put on that star filter the whole whole shot gets really washed out. That is because those edge lights are hitting directly the lens and the filter. Best way to fix this is to use two flags to block those lights from hitting the front of the camera.
Star Filter
B&H https://bhpho.to/3FYjNHX
Adorama https://adorama.rfvk.net/ORaqJr
Amazon https://amzn.to/3rGgD6S
Amazon Canada https://amzn.to/3rKxpBE
Amazon UK https://amzn.to/3ApFbF4
eBay https://ebay.us/VUnVdX
My final camera settings were:
ISO 200
Shutter at 1/200th of a second
Aperture T1.5 on the Bower 85mm lens
The last step is to adjust the colors a little bit. I do all of my editing and color grading in Davinci Resolve. The same thing can also be achieved in Final Cut or Adobe Premiere but I feel like Resolve has more controls.

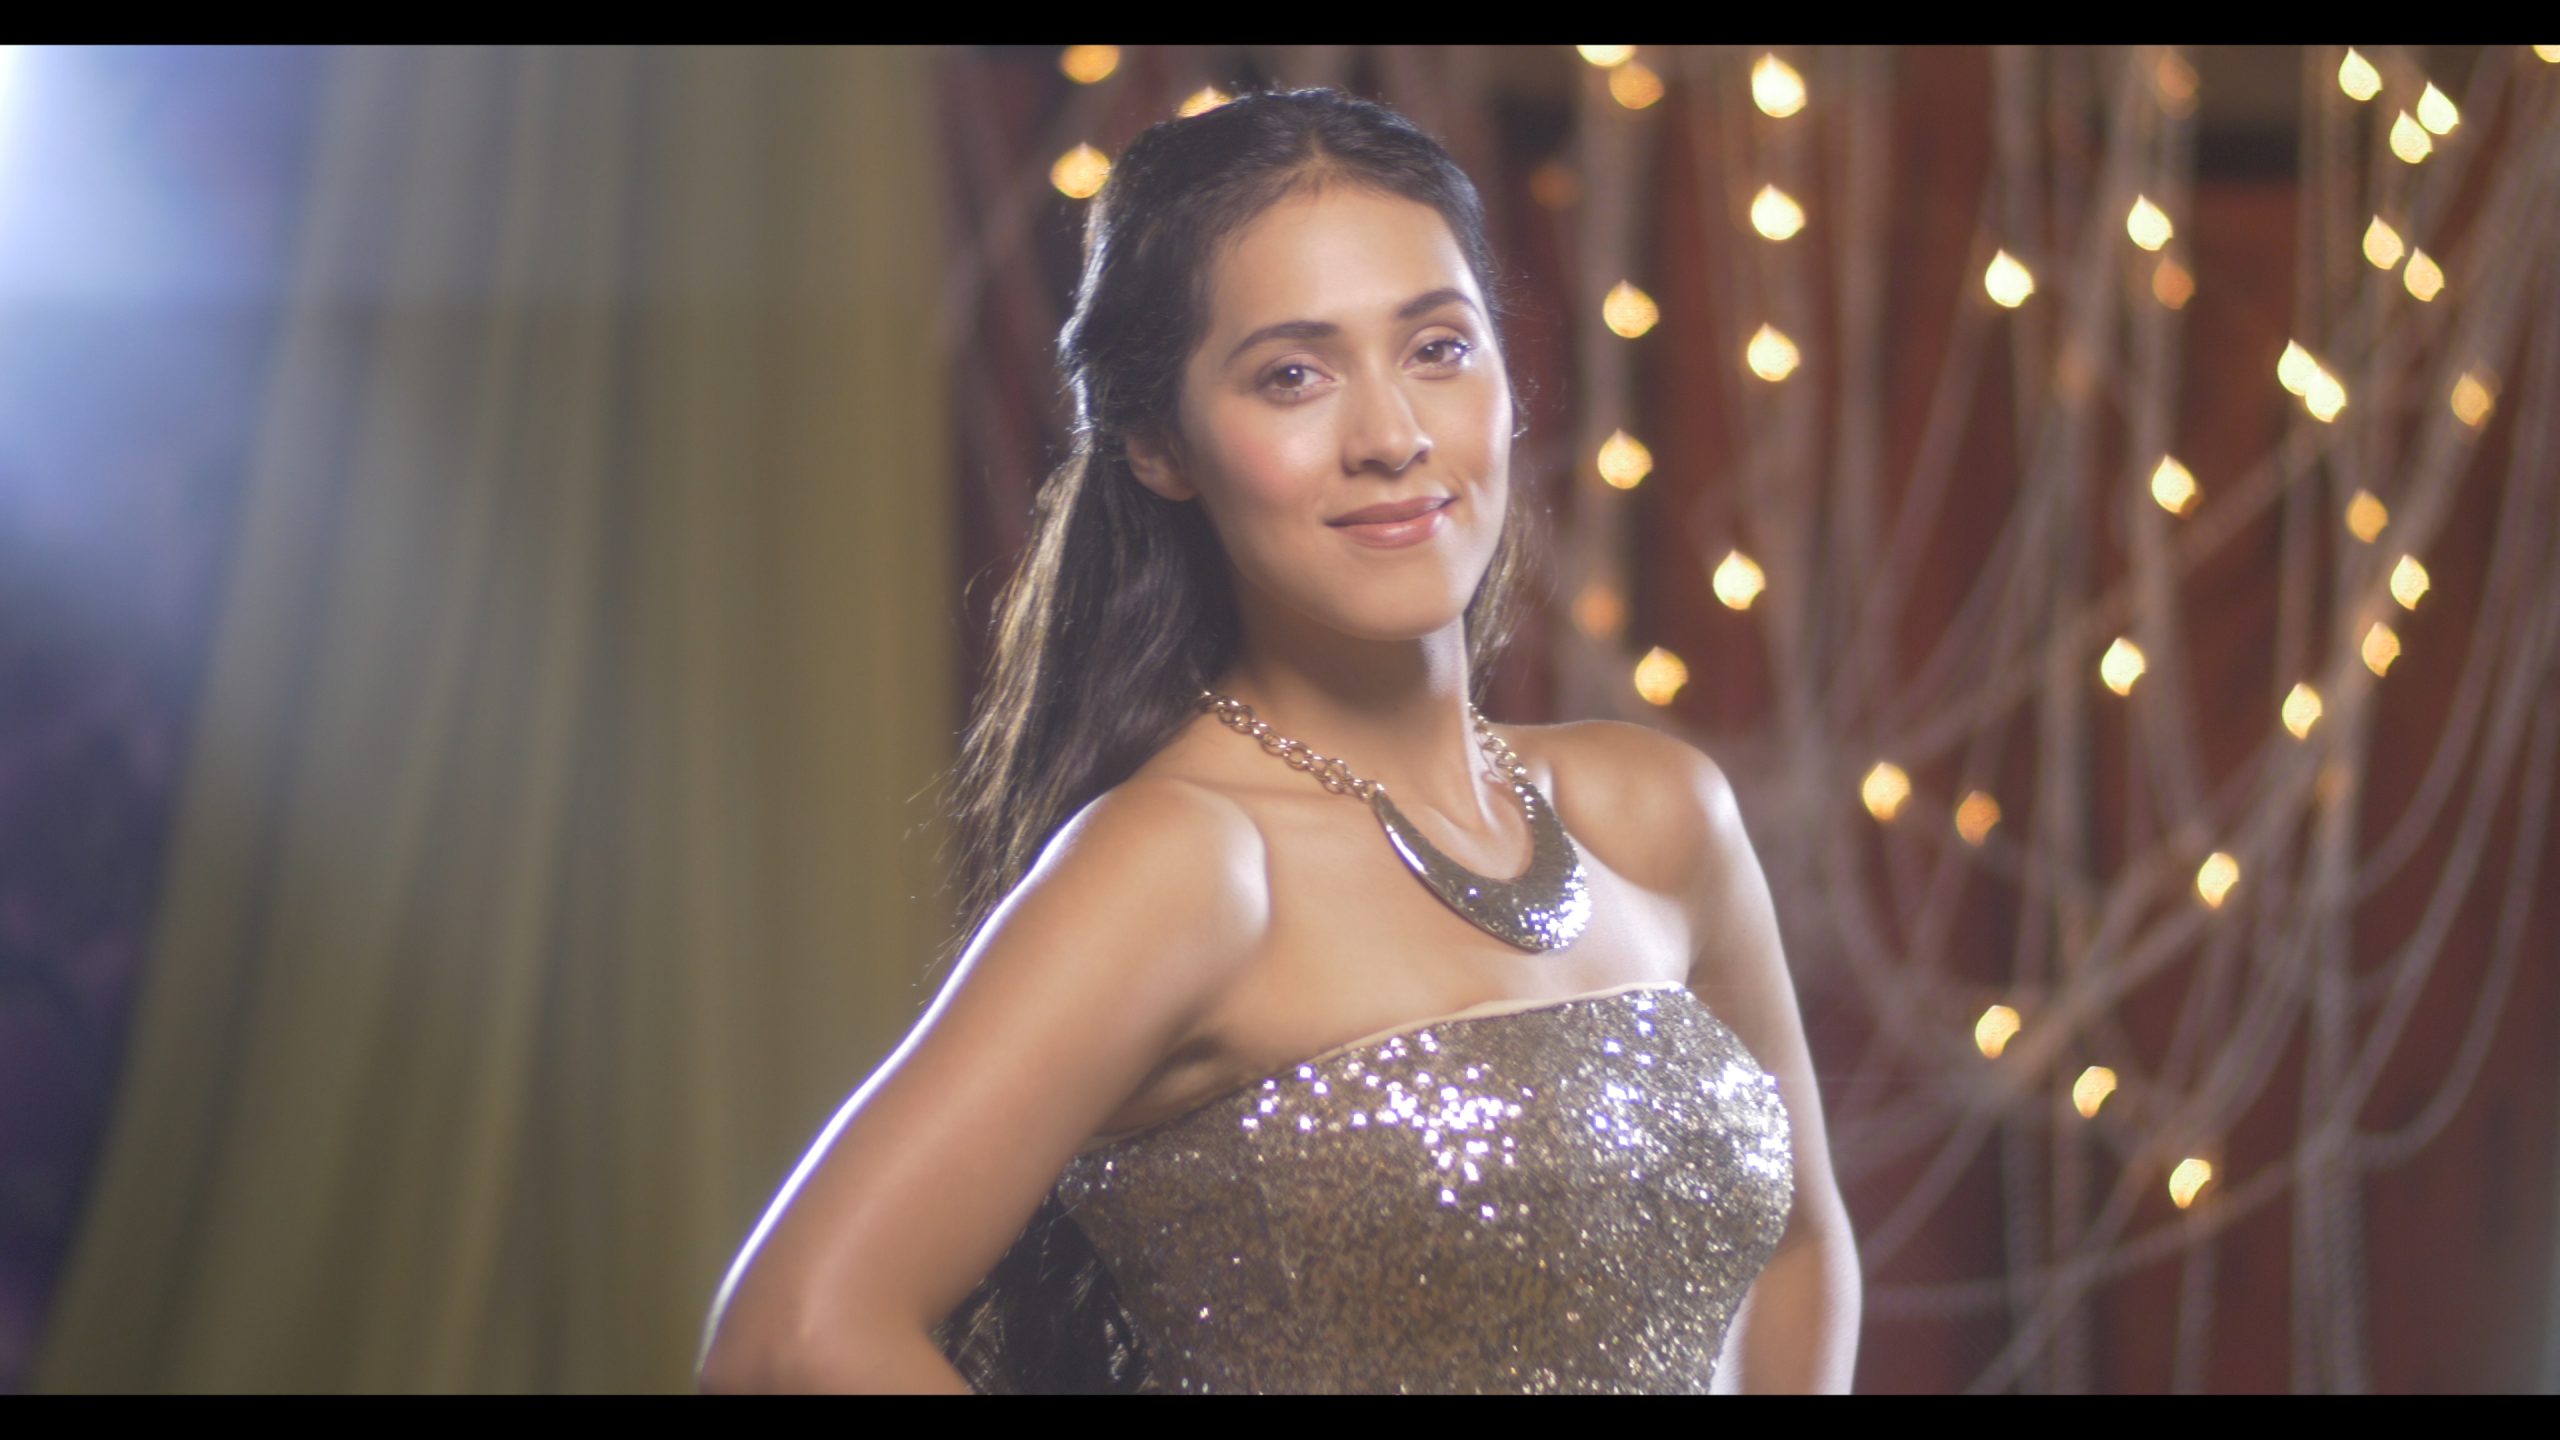
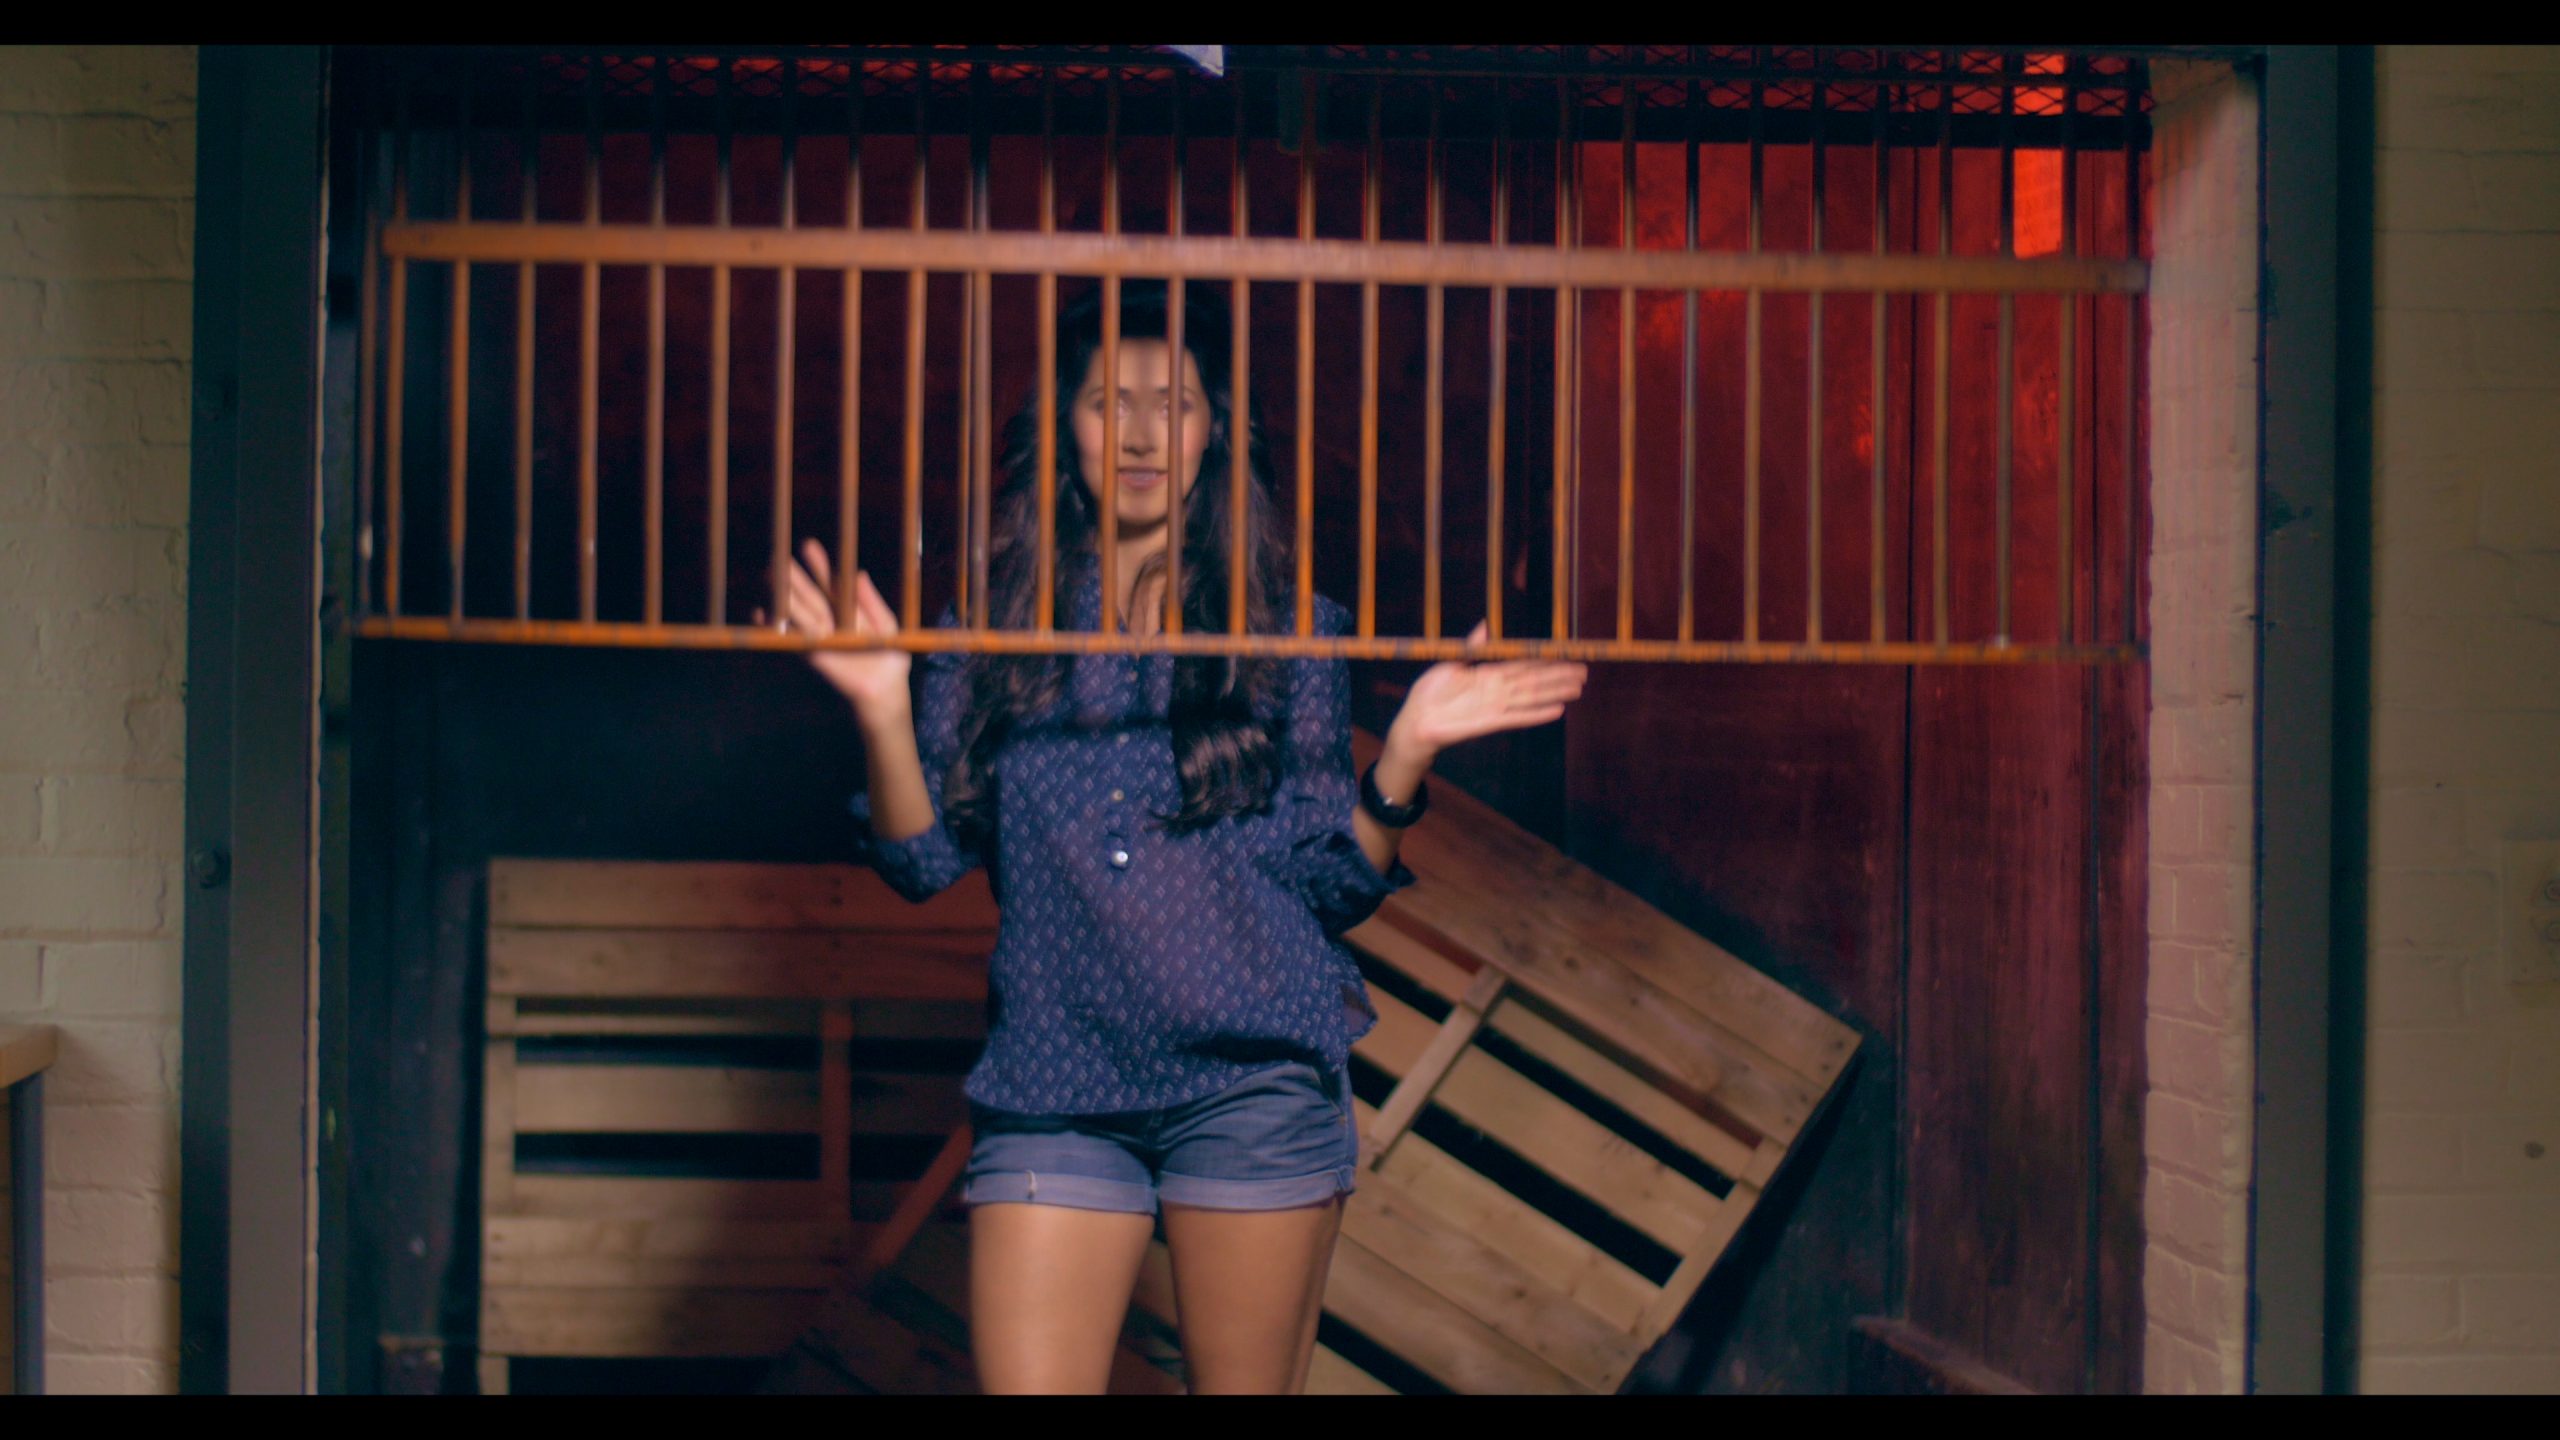
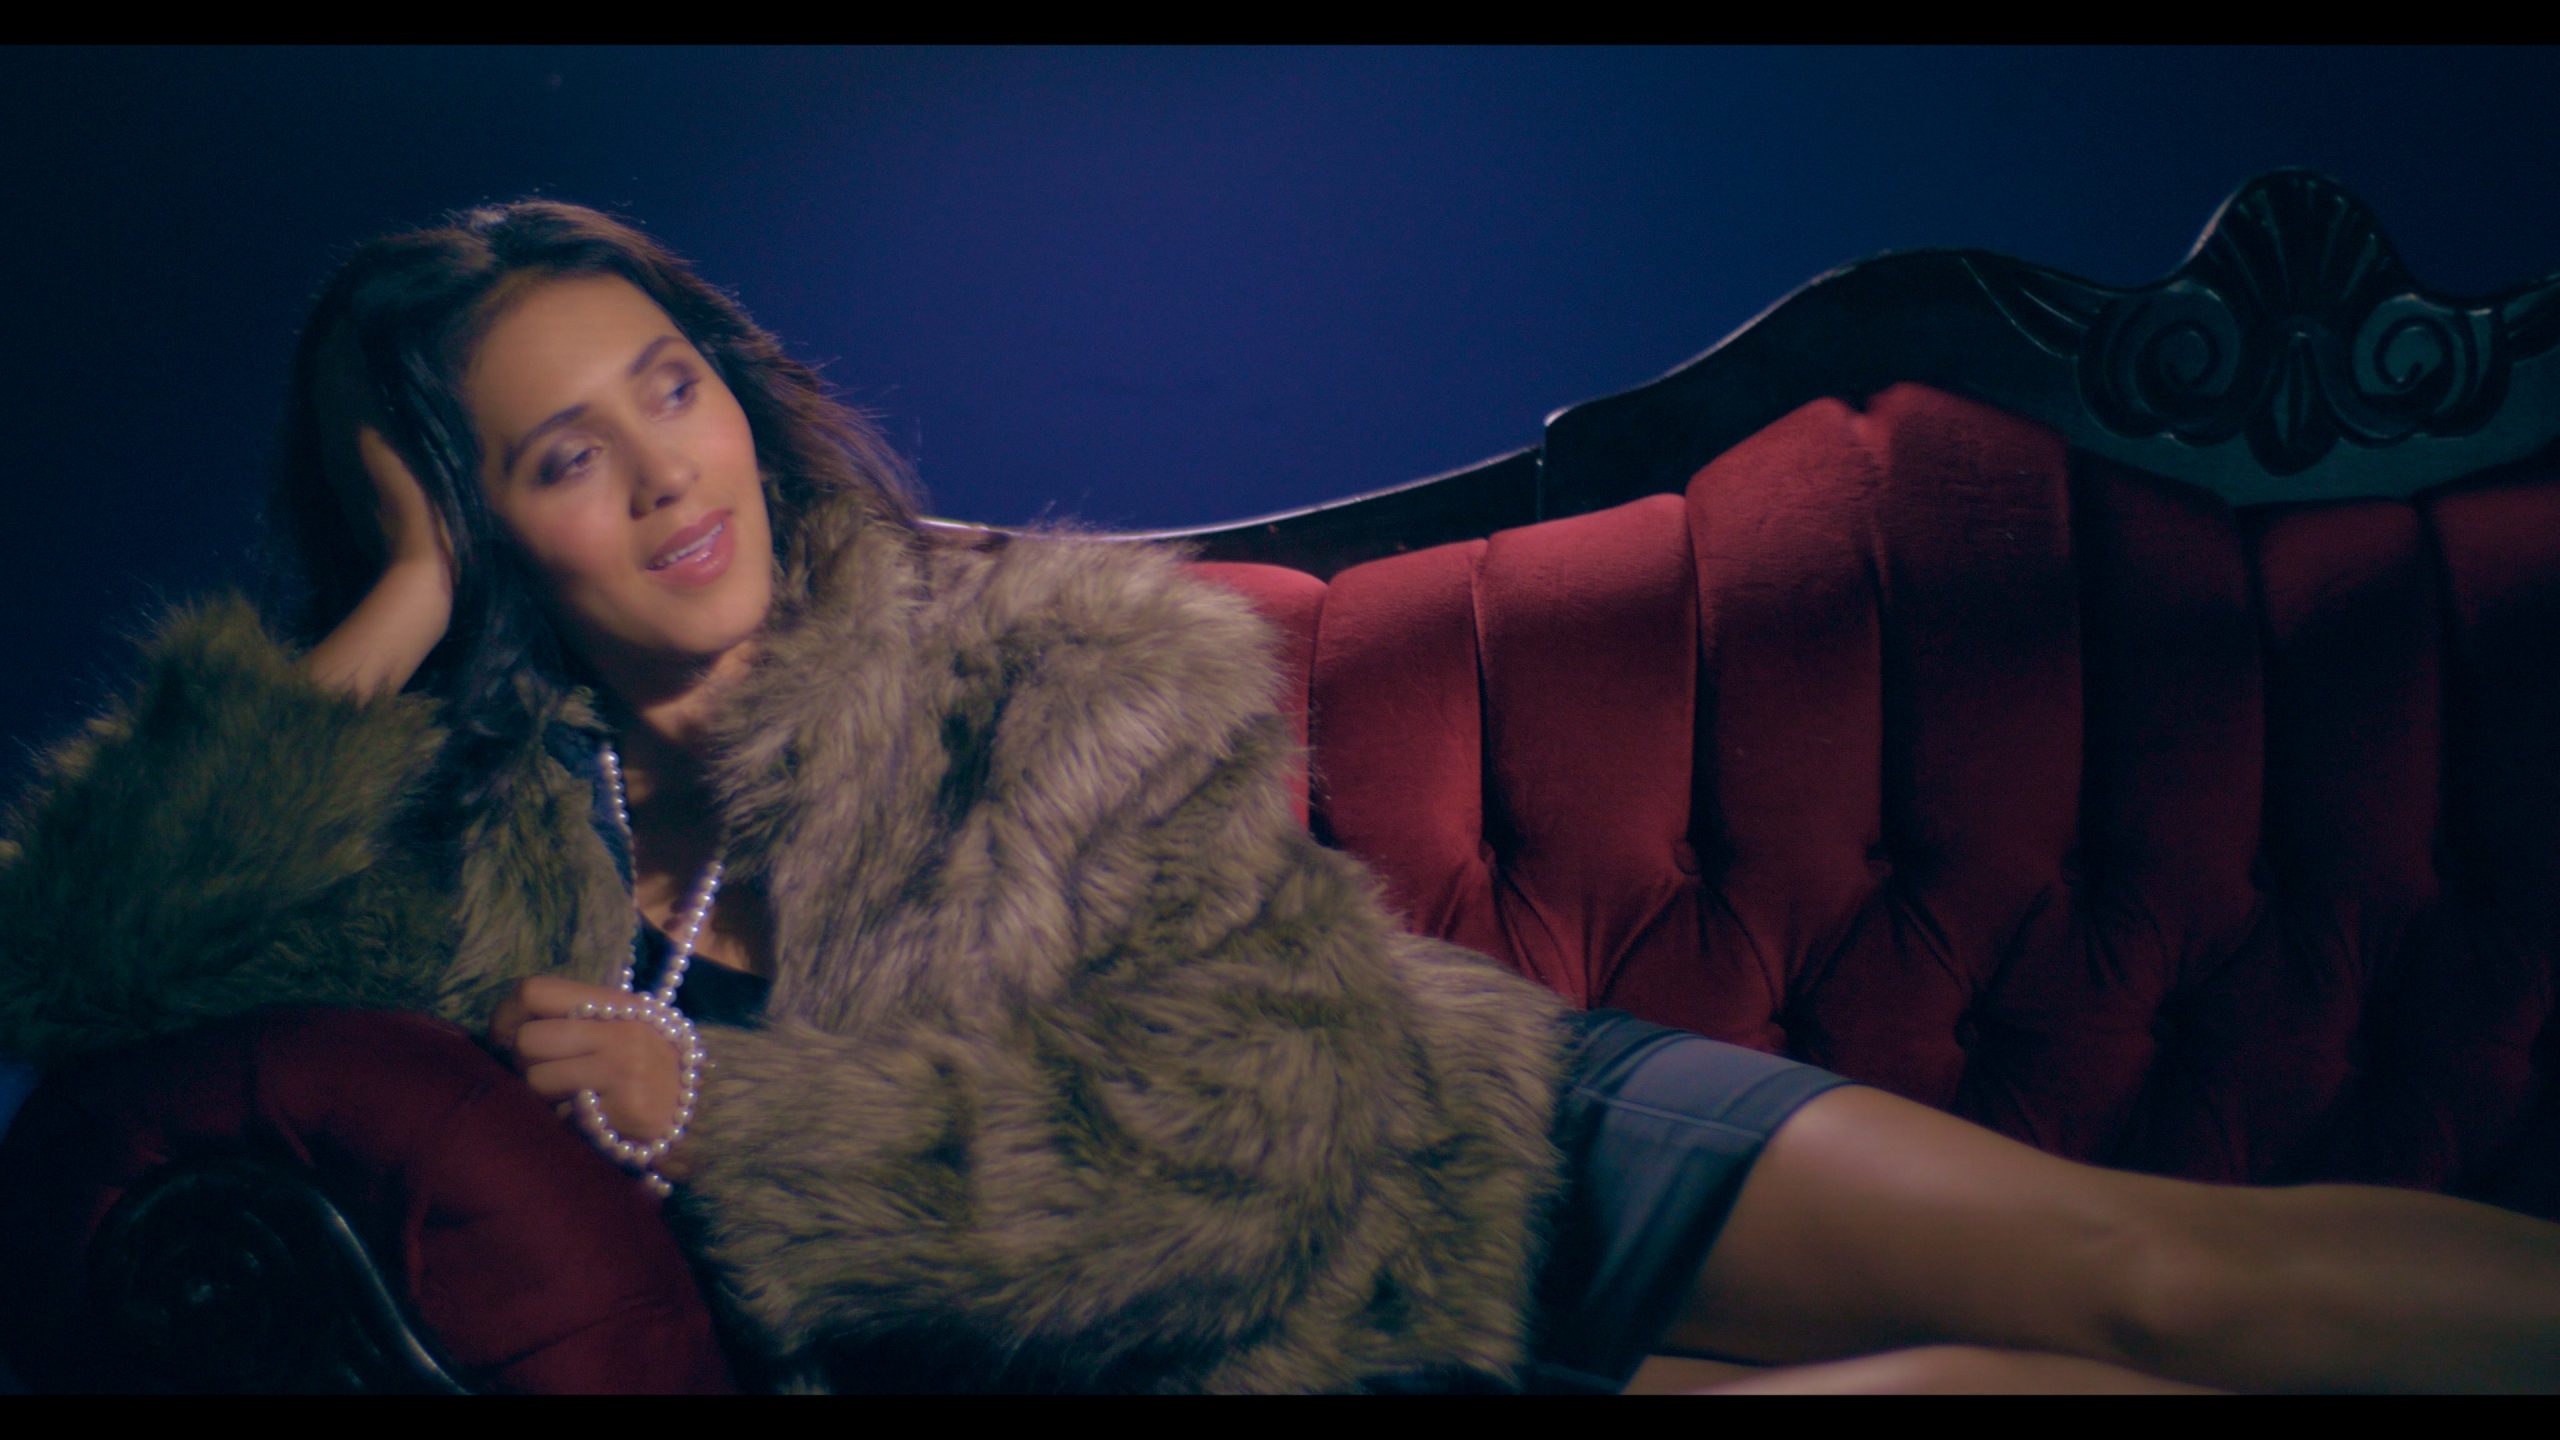
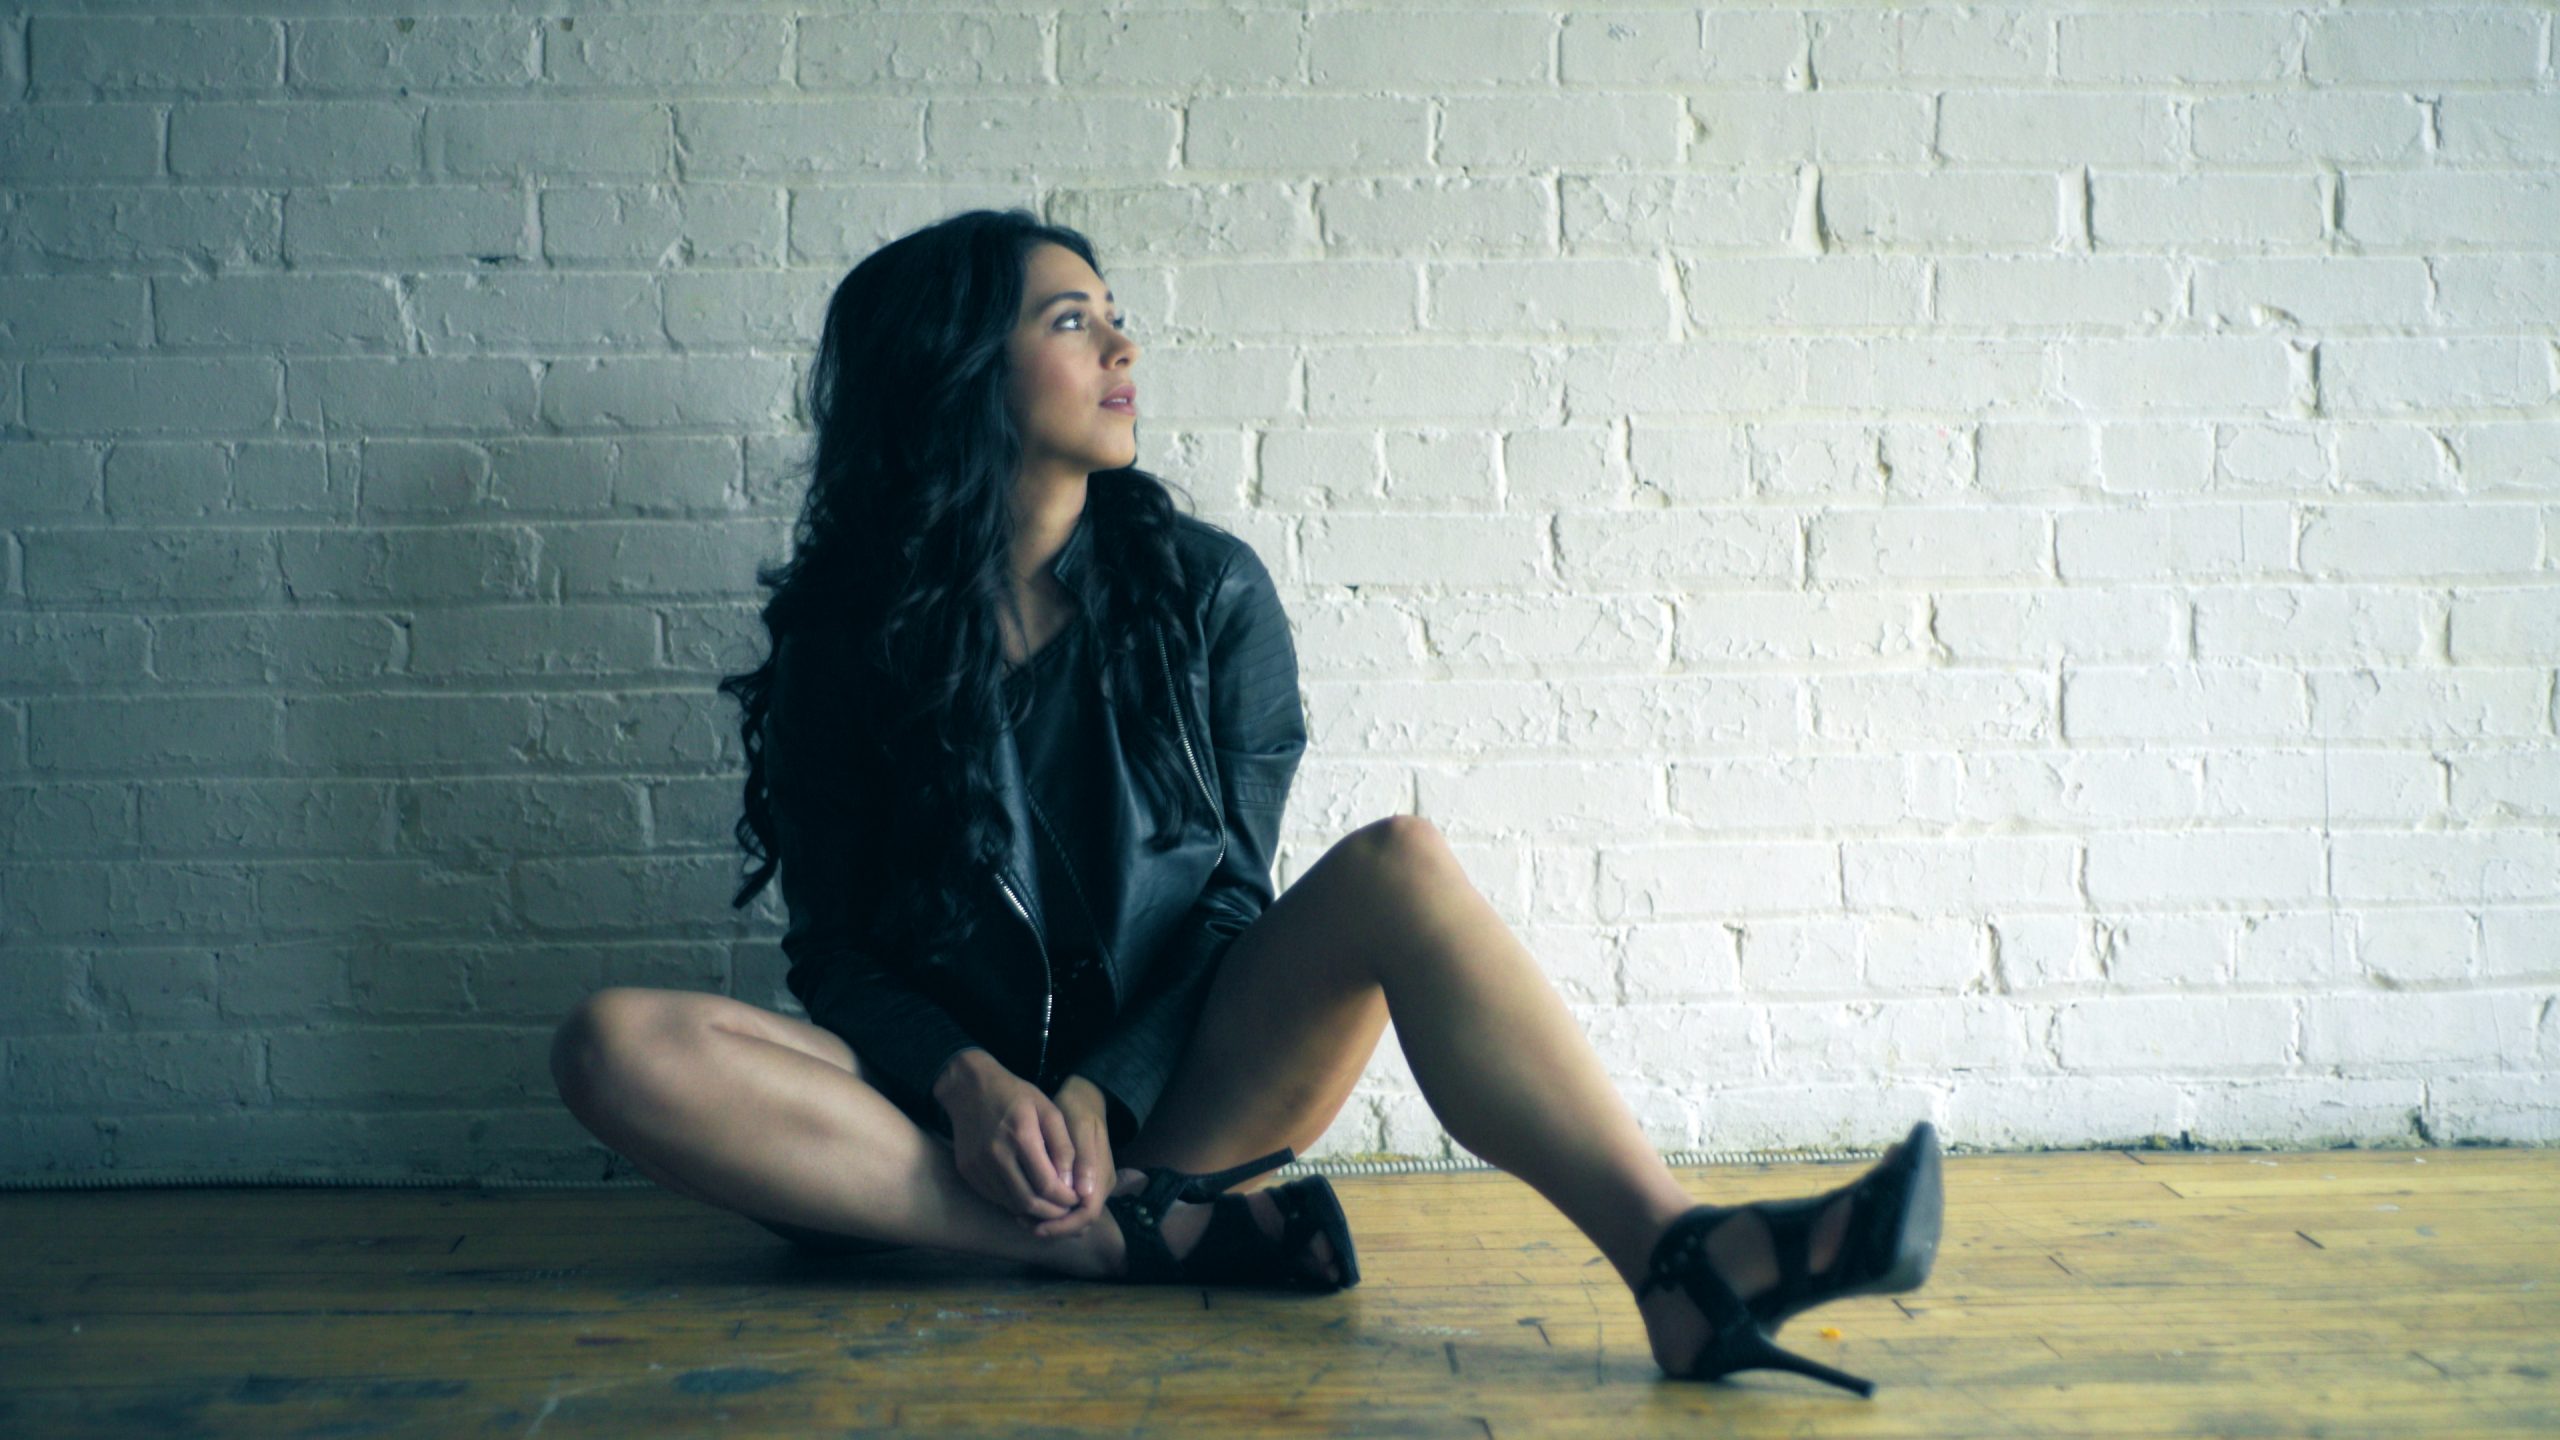
Here is the final shot. It definitely looks glamorous even though we did this on a tiny budget with a cheap camera and only 3 lights. It is also hard to believe that we shot in the same location that also allowed us to get these shots with Diana.
If you are interested in seeing the next lighting tutorials where I will show you how I did these shots using affordable cameras, few lights and sometimes even no lights then make sure you subscribe to my newsletter so you are notified of future posts.
Also check out my exclusive lighting tutorials where I show you how to use various techniques using artificial lights and natural light to get spectacular looking shots.