
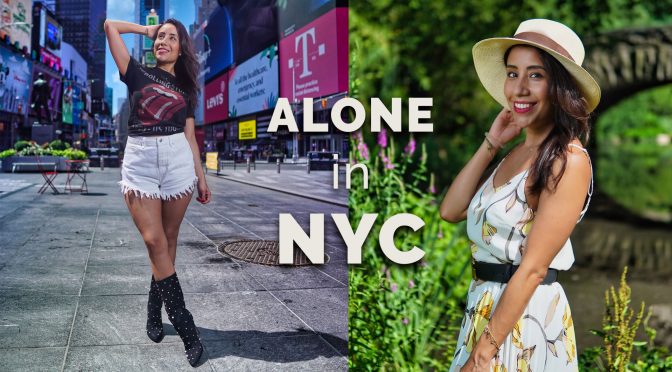
Today I want to take you guys along for a little photo shoot I did in New York City during the pandemic of 2020. I figured since everyone is locked up it’s a great opportunity to take some pictures in Times Square and also in Central Park without all the usual crowds.
We shot this video last week and we did follow all the local guidelines and corona virus restrictions.
For the pictures I used the Sony a6600 because it’s small and it takes 24 megapixel photos.
Get the camera at B&H https://bhpho.to/2OxGL0q
Also on Amazon https://amzn.to/2OC3IzJ
and Adorama https://adorama.rfvk.net/Rkdaa
For the lenses I used the Sigma 16mm f1.4 lens along with the other great Sigma lens the 30mm f1.4
Sigma 16mm f/1.4 DC
B&H https://goo.gl/Sr52ii
Adorama https://goo.gl/sXP9k6
Henry’s https://goo.gl/B5MeRh
eBay https://goo.gl/mhXRUd
Amazon http://amzn.to/2sAsF6o
Sigma 30mm f/1.4 DC lens
BH Photo Video https://goo.gl/rMJYo4
Henry’s https://goo.gl/Xwuokp
eBay https://goo.gl/cFj9tc
Amazon http://amzn.to/2tVdnbD
For the super wide shots I had the Laowa 9mm f/2.8 lens.
B&H https://bhpho.to/2KdyrPh
eBay https://ebay.to/2Iiv6hc
Amazon https://amzn.to/2IbxYkc
In order to get the shallow DOF I also had to use an ND filter. The one I used is from PolarPro. It’s the Basecamp kit that comes with a very light but sturdy matte box that you can attach directly to the lens. Which means you don’t need rails and that keeps the whole camera setup nice and small. This is also what I’ve been using over the last few months on most of my video cameras. The kit also comes with a 2-5 stop variable ND filter and a polarizer filter. This allows you to just turn the polarizer to quickly adjust the intensity of the ND. The matte box even has a top flag that helps control the lens flares. It works great for both video and still photography.
Get the PolarPro Matte Box Filter Kit
B&H https://bhpho.to/2V8JXTM
Adorama https://adorama.rfvk.net/o76Ng
In all of these shots I did use a light. It was a simple setup with a large softbox. This is a cheap kit I bought online that has two, on-camera flash speedlites. These come with a little stand and adapter that holds the lights and the softobox. On my camera I mount the wireless flash trigger, so whenever I click the shutter button that sends the signal to the lights causing them to flash. I can also adjust the intensity of the flash using the remote trigger.
Dual Flash Speedlites https://amzn.to/3fLYmh7
Softbox https://amzn.to/2CTXUPa
Dual Flash Bracket https://amzn.to/3fKgh80
When working with a single light setup like this for portraits, always place the light above the model’s head. Kinda pointing down straight onto her face, so it creates these even, soft shadows under the nose and jaw line. In this type of a setup you want to make sure that your assistant knows what you are trying to do so you need to communicate with him and tell him to move in closer or further, higher or lower so that you always end up with those subtle shadows. You don’t want that light too high for example because it will create these long and bad looking shadows. Also if the light is too far, the shadows will look too sharp.
Since I want to create casual looking portraits I want the face to be lit softy. You also have to communicate with your model so she knows how to pose. In this case I am working with Annie with whom I’ve done a lot of photos in the past. So we already know what each of us likes and how often to change up the poses. Also don’t forget to just have fun as you experiment and try out angles or poses that might seem stupid or something you’ve never tried. In the worst case scenario if that photo doesn’t look good you just don’t have to use it.
In a situation like this where I am experimenting, it’s always better to shoot more photos than less. This gives you more options later on when adjusting the photos on the computer. Which I will show you how I do in the video below.
Get Luminar 4 and save $25 here.