
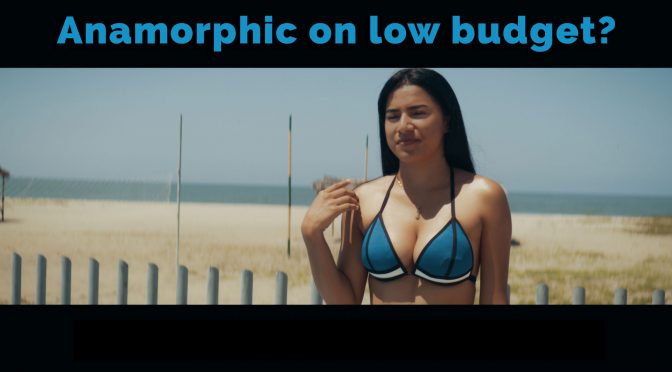
This post is all about creating that cool anamorphic look on a low budget or as Tito Ferradans would say, “Anamorfake It Until You Make It”.
I am sure most of you already know Tito from his informative videos about anamorphic filmmaking but if you haven’t already subscribed to him then make sure you head on over to check out his youtube channel.
So the guide that Tito created is a pretty cool way of simulating some of the characteristics of anamorphic lenses. In my video I first show you a test I shot using a cheap lens that was modded using some of the techniques from the guide.
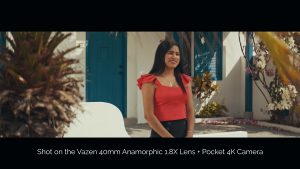
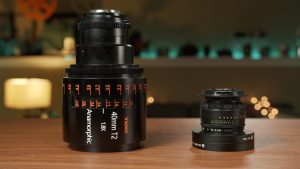
Now how does this fake anamorphic lens compare alongside a real anamorphic lens which is the Vazen 40mm. The tests in my video were all shot on the Blackmagic Pocket 4K camera. I did a quick focusing and sharpness test in front of my house.
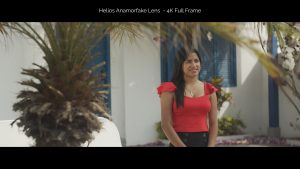
This is just to see how each lens handles the depth of field. Also I wanted to see the focus breathing and sharpness. So please watch it and then let me know which lens you prefer more and why?
Gear I used in this video:
➡Vazen 40mm T2 1.8x Anamorphic Lens
B&H https://bhpho.to/2XlcPIv
Amazon https://amzn.to/2OcId81
eBay https://ebay.to/2v44y1S
eBay Canada https://ebay.to/38FVa2s
➡Helios44 Lens
eBay https://ebay.to/2ytzCJE
Amazon https://amzn.to/3culHlj
➡Streak Filter I used
eBay https://ebay.to/2yw0Xec
B&H https://bhpho.to/3bytY85
Amazon https://amzn.to/2wUE4AY
➡Even Better Streak Filter
eBay https://ebay.to/34Pvvnw
B&H https://bhpho.to/3cwE9Kd
Amazon https://amzn.to/34UIXqb
Personally I think both lenses have their strengths and weaknesses. The real anamorphic lens has that nice anamorphic distortion and the colors look better in my opinion right out of the camera but at the same time it’s nowhere as sharp as the anamor-fake lens from Tito. Also working with the fake anamorphic lens is way easier since it’s so much smaller, lighter and easier to focus by hand than the Vazen 40mm lens. Not to mention the huge difference in price between these two lenses.
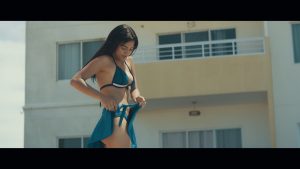
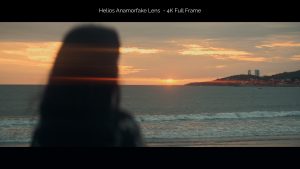
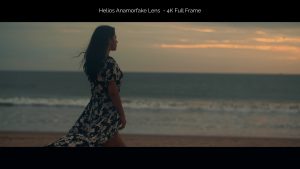
I did another test on the beach with only the available light. Both lenses were shot wide open and that’s where you can again see that the fake anamorphic lens is way sharper. Here I used another tip from Tito’s guide which was to use a streak filter on the lens to simulate those horizontal anamorphic flares.

Hopefully you guys enjoyed this post. The guide that Tito put together teaches a lot more than what I show here. It even has some cool tips on things you can do in post production to add that anamorphic look. If you guys want to get the “Anamorfake It Until You Make It Guide” then head on over to the Tito’s store and use the coupon code “TOMANTOS” to get 10% off.