
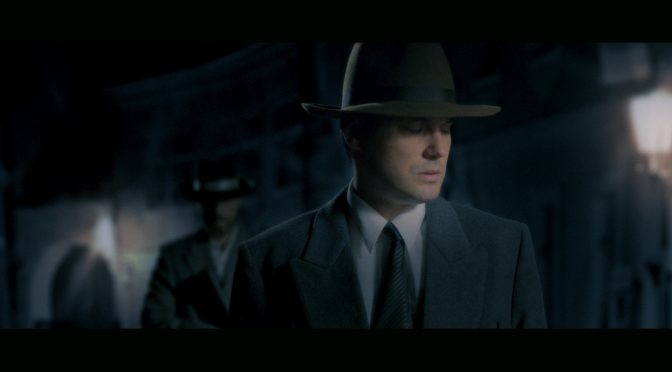
Today, we’re recreating a scene from “Road To Perdition“.
Rather than looking for a suitable location (like in our “The Matrix: Retired” video), we shot the scene in our house and used visual effects.
So, if you want to learn more about visual effects, this video is a good opportunity.
I cover all the elements that went into replicating this scene, including the lighting and color grading of the film.
I shot the scene on the URSA Mini 4.6K, in compressed RAW 4:1. By using footage with a high bitrate, it was much easier to key out the green screen.
Also, I used DaVinci Resolve to convert the RAW files to the DNxHR codec, before using them in Adobe Premiere and After Effects – the Adobe CC applications run much better with such a codec.
Another camera that is ideal for this type of a project is the new Panasonic GH5, because it outputs 4K 10bit 4:2:2.
Don’t worry, though, if you have an average DSLR/DSLM camera. You can still get footage that is good enough for this type of post-production work. You will just have to spend more time on the visual effects, and/or the edges in the green screen shots will not be as clean.
Here are my reviews of these two cameras:
URSA Mini 4.6K review
Panasonic GH5 review
Here is a post about the green screen I used, including how to fold this darn thing.
Please i love your work so greatly I need gh4
From you even a second hand till me the price am also a film marker trying to get the right equipment.